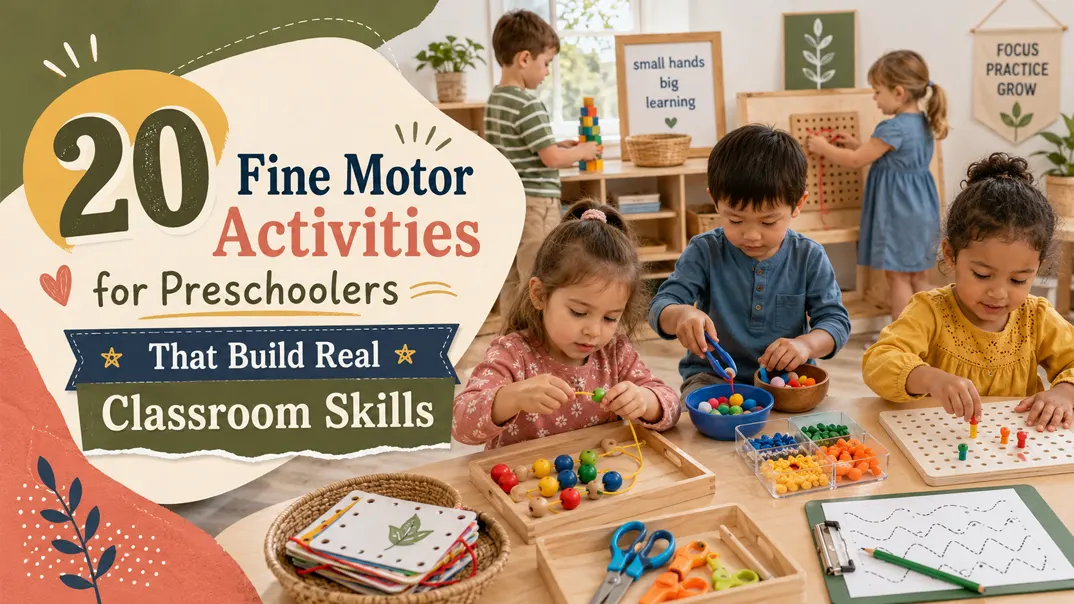
Good fine motor activities for preschoolers do more than keep small hands busy. They give children repeated practice with pinching, squeezing, turning, threading, cutting, pouring and using two hands together. This guide gives you 20 practical classroom activities, explains what each one develops and shows how to make it easier or more challenging without turning play into a test.
What Are Fine Motor Skills?
Fine motor skills are the controlled movements children make with their hands, fingers and wrists to handle objects and tools. In a preschool classroom, children use these skills when they turn puzzle pieces, string beads, draw, cut paper, open containers, fasten clothing and serve themselves.
The goal is not to train one “perfect” pencil grip as early as possible. Children need a wider foundation that includes hand strength, finger isolation, pincer grasp, wrist control, hand-eye coordination and bilateral coordination. The Head Start Early Learning Outcomes Framework describes a progression from simple hand-eye tasks at 36–48 months to more precise cutting, drawing, stringing, pouring and buttoning by 60 months.
How to Choose the Right Fine Motor Activity
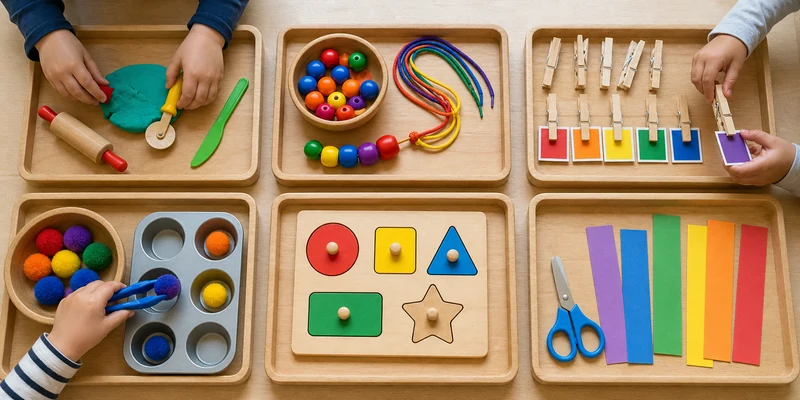
Choose an activity by starting with the action a child needs to practise, not by choosing the most attractive material. If a child tires while drawing, begin with resistance activities such as dough and squeezing. If a child struggles to pick up small items, use larger objects and finger-transfer games before introducing tweezers. If scissors are difficult, practise opening and closing tongs and cutting dough before moving to paper.
| Skill to practise | Useful actions | Good starting activities |
|---|---|---|
| Hand strength | Squeeze, press, roll and pull | Play dough, sponge squeezing, clothespins |
| Pincer grasp | Pinch and release with thumb and finger | Stickers, pegs, large beads, sorting pieces |
| Hand-eye coordination | Guide an object toward a target | Threading, pegboards, puzzles, posting games |
| Bilateral coordination | Use one hand to hold while the other works | Lacing, cutting, opening containers, dressing frames |
| Wrist and tool control | Turn, pour, draw and move with direction | Droppers, pouring, tracing, tongs |
20 Fine Motor Activities for Preschoolers
1. Roll, Pinch and Cut Play Dough
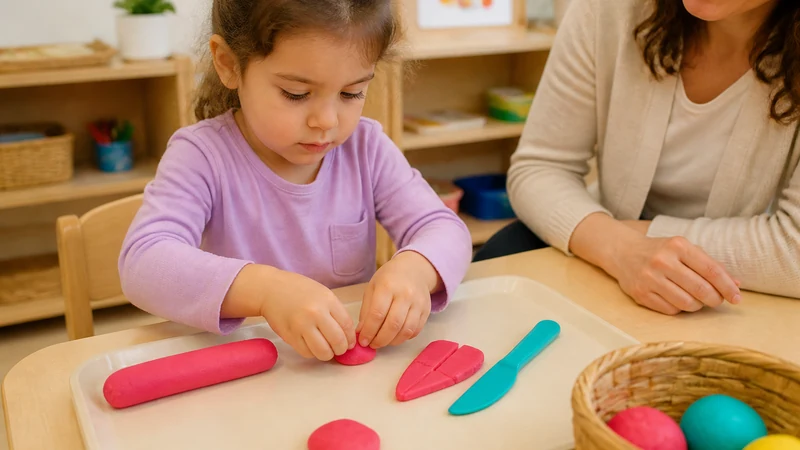
Play dough builds hand strength through pressing, pulling, rolling and pinching. Ask children to roll long ropes, pinch off small sections, flatten balls with their palms or cut the dough with child-safe dough scissors. Make it easier with soft dough and large tools; make it harder by adding small cutters, tongs or shape-building challenges.
2. Transfer Objects with Tongs
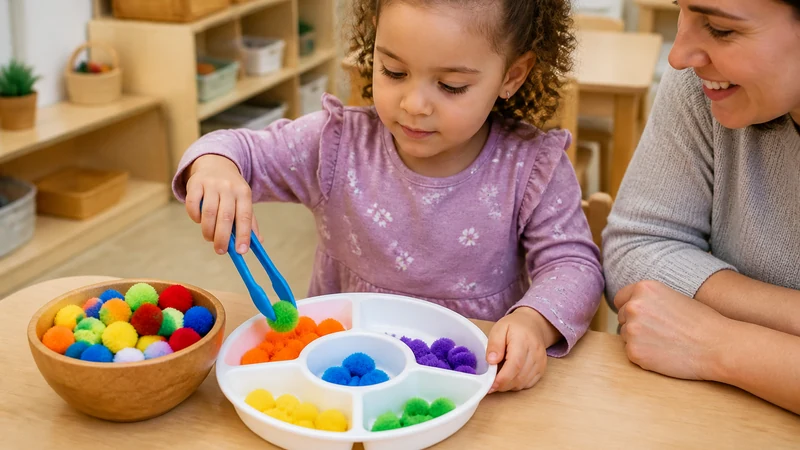
Place two bowls on a tray and let children move large felt balls, wooden rings or other age-appropriate pieces with tongs. This practises squeezing, releasing and aiming. Start with wide, springy tongs and large objects. Narrower tongs, smaller targets or sorting by color add difficulty. West Shore’s sensory bin tools can also support scooping, pouring, transferring and sorting activities.
3. Thread Large Beads
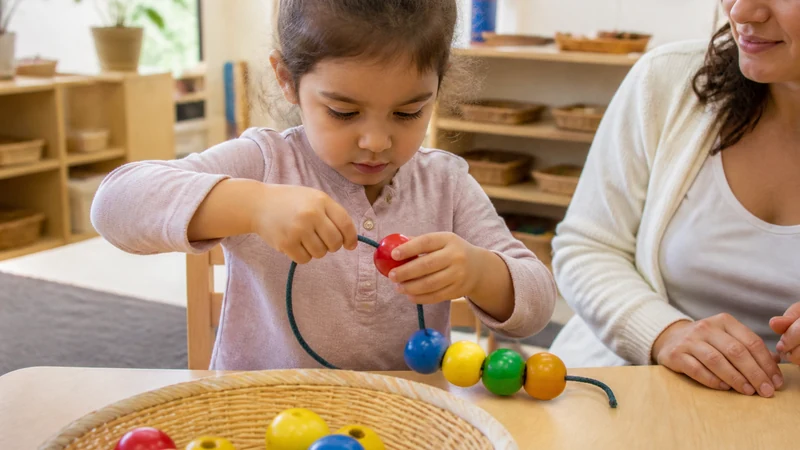
Threading requires one hand to stabilize the cord while the other guides each bead. Begin with a stiff lace and large beads with wide openings. As control improves, introduce flexible cord, simple color patterns or smaller age-appropriate beads. Always select pieces that match the children’s age and your program’s choking-hazard policy.
4. Clip Clothespins to Cards
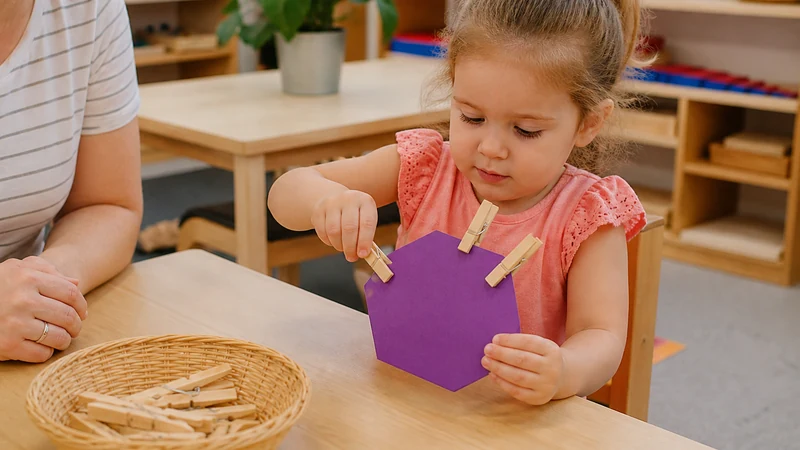
Children can clip wooden clothespins around a sturdy card, bowl or low basket. The repeated squeeze strengthens the thumb and fingers. Add a matching task by using colored dots or numbers, but keep the motor action as the main challenge. Looser clips are better for beginners; firmer clips require more hand strength.
5. Build Patterns on a Pegboard
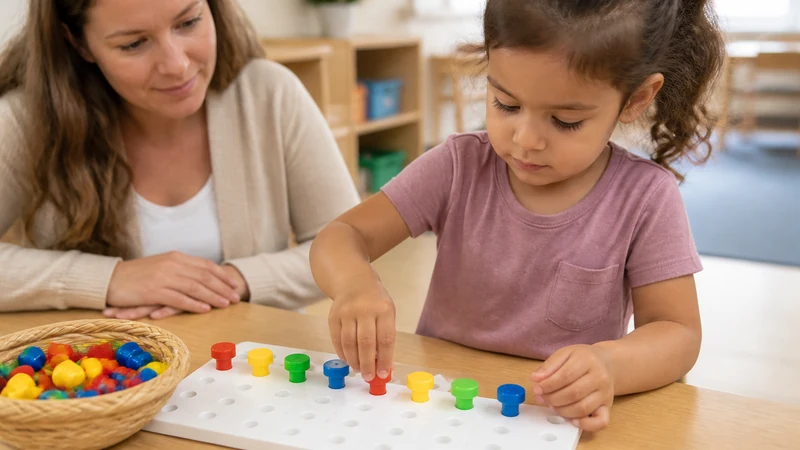
A pegboard combines grasp, controlled placement and visual planning. Let beginners fill any open hole before asking them to copy a line, color sequence or simple picture. Choose thick pegs that stand upright easily. If a child is forcing pieces or repeatedly missing the holes, simplify the board rather than correcting every attempt.
6. Peel and Place Stickers
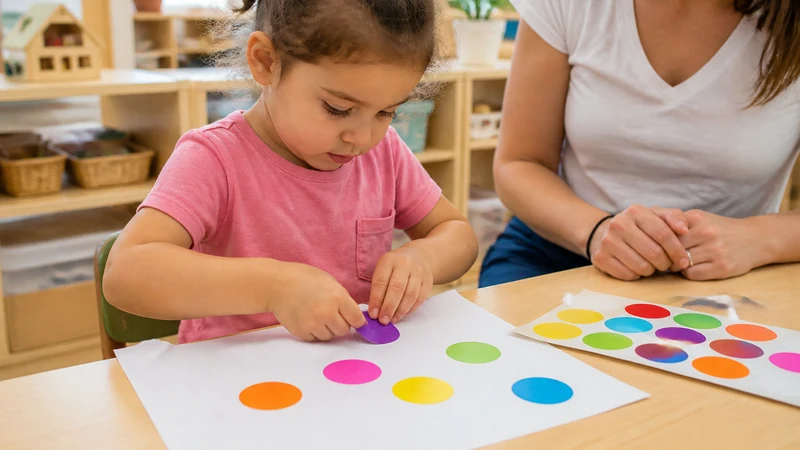
Peeling a sticker separates the thumb and index finger while placing it on a target adds hand-eye coordination. Lift one edge of each sticker for beginners. Later, use smaller stickers or ask children to place them along a broad line, around a shape or inside marked spaces.
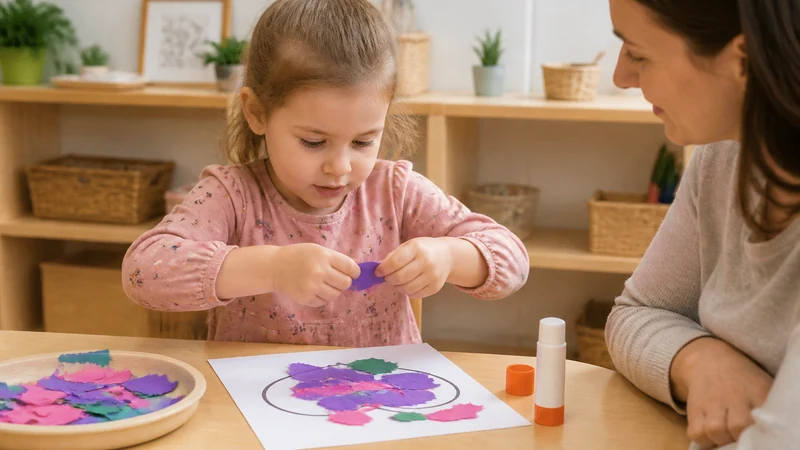
7. Tear and Glue a Paper Collage
Tearing paper teaches children to move their hands in opposite directions. Start with lightweight paper cut into manageable strips. Children can tear pieces, pick them up, position them and press them onto glue. Different papers provide different resistance, so introduce thicker paper only after children understand the movement.
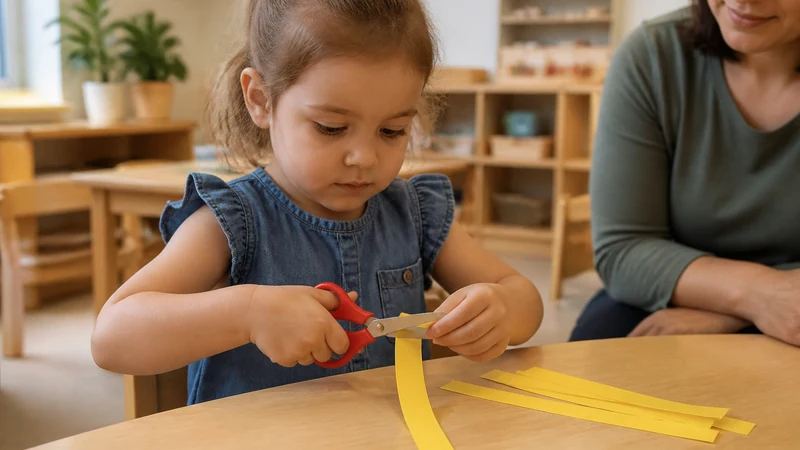
8. Snip Paper Strips with Safety Scissors
Short paper strips are easier to control than a full sheet. Begin with single snips across narrow strips, then progress to straight lines, gentle curves and simple shapes. Show children how the helper hand holds and turns the paper while the cutting hand opens and closes the scissors. Use child-safe scissors and provide direct supervision.
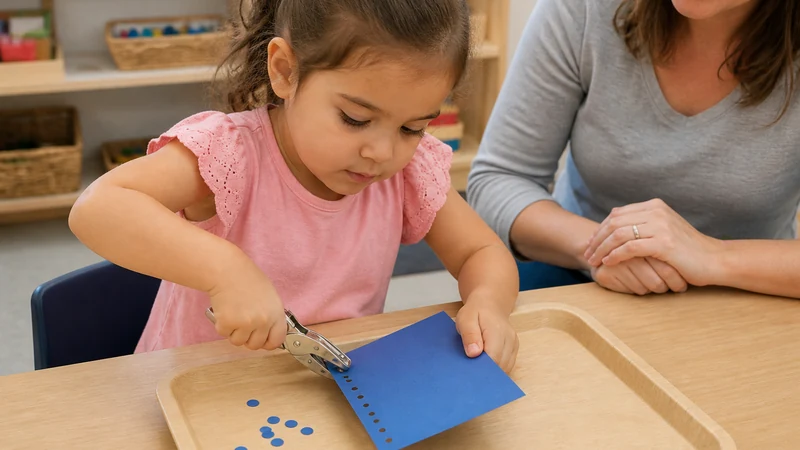
9. Punch Holes Along a Card Edge
A child-friendly single-hole punch provides stronger resistance than most drawing tools. Children can punch freely around a card edge before following spaced dots. Collect the punched circles only if they are appropriate for the children’s age and can be managed safely.
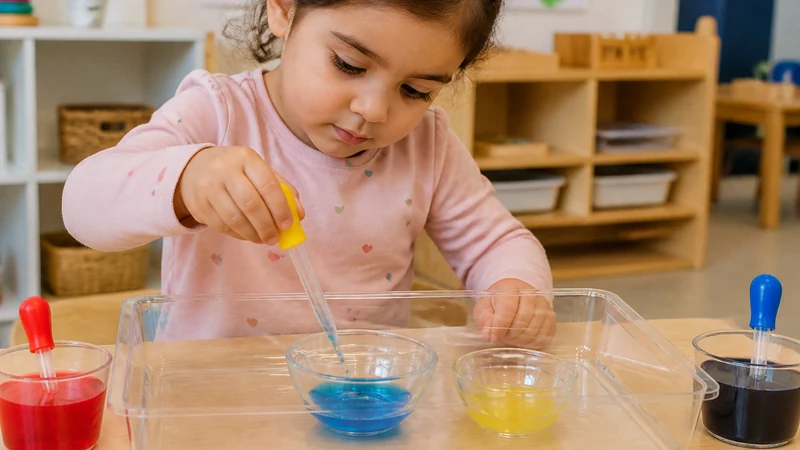
10. Use Droppers for Color Mixing
Fill small cups with colored water and let children squeeze a dropper to move water into an ice tray or clear container. The squeeze-and-release action develops finger control, while aiming at a small opening practises accuracy. Use larger basters for children who are not ready for small droppers.
11. Turn Nuts, Bolts and Lids
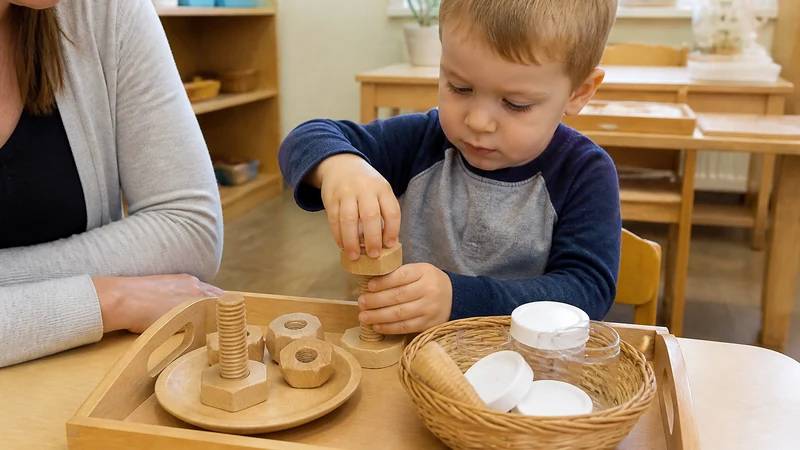
Large wooden nuts and bolts, screw-top containers and jar lids practise wrist rotation and coordinated use of both hands. Offer a small group of clearly matched pieces at first. Later, mix sizes so children must compare before twisting parts together.
12. Rotate and Fit Puzzle Pieces
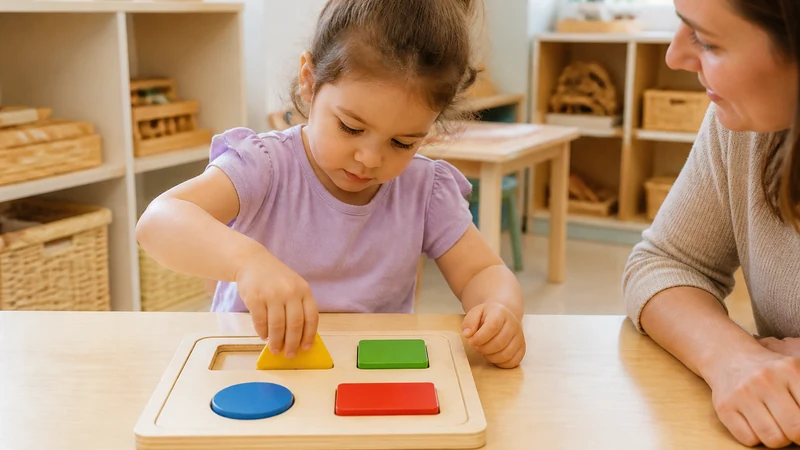
Inset puzzles help children practise grasp, rotation and accurate placement. Begin with knobbed pieces and obvious shapes. Move toward smaller knobs, interlocking pieces and puzzles with less visual contrast. Resist completing the puzzle for the child; rotate the board or model one piece if support is needed.
13. Sort Loose Parts by One Feature
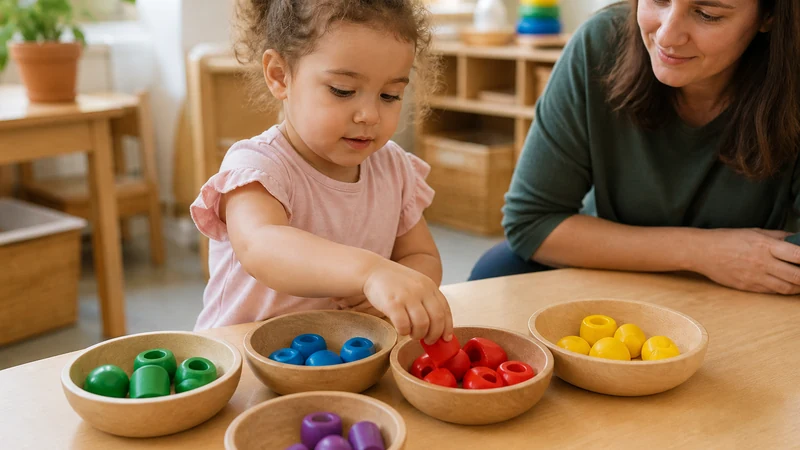
Children can sort large buttons, wooden shapes, counters or natural objects by color, shape or texture. Picking up and releasing each object practises control, while the sorting rule adds thinking. Use fingers first, then add tongs when children can manage the classification task without frustration.
14. Scoop and Pour in a Sensory Bin
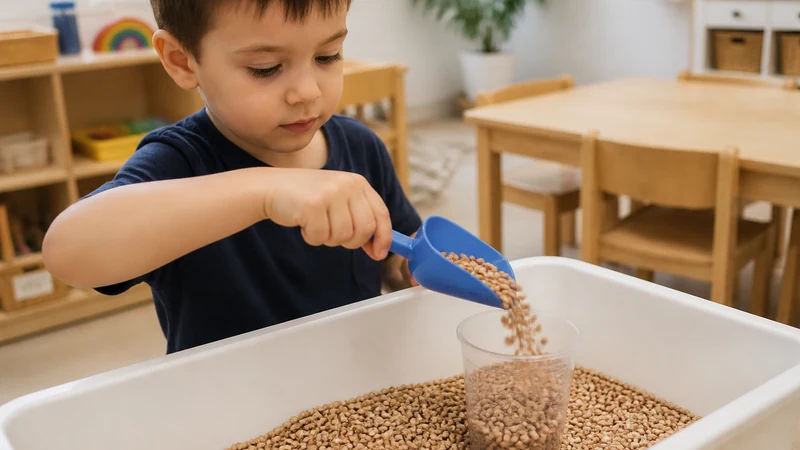
Scooping and pouring develop wrist position, graded movement and two-hand coordination. Set up a shallow bin with cups, scoops and containers, and choose a filler that is safe for the age group. Begin with large containers and dry materials that are easy to collect. Add narrower openings only after children can pour with reasonable control.
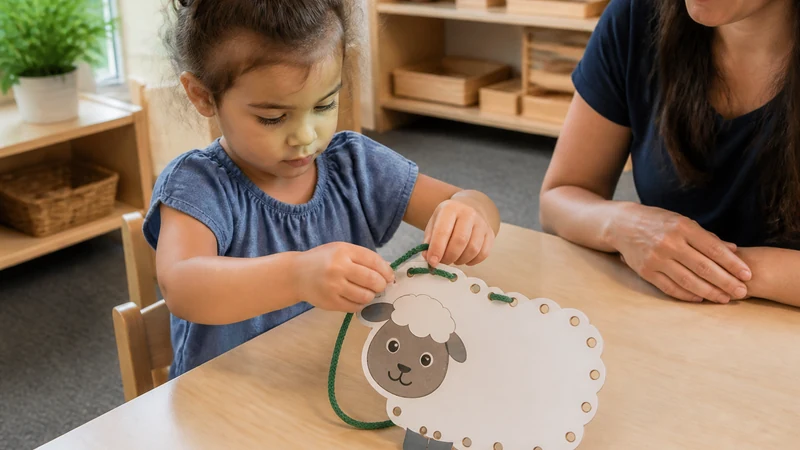
15. Lace Cards or Simple Shapes
Lacing requires children to push a lace through a hole, find it on the other side and pull it through. Start with a short, firm lace and widely spaced holes. A longer lace, smaller holes or a repeated over-under pattern increases the planning demand.
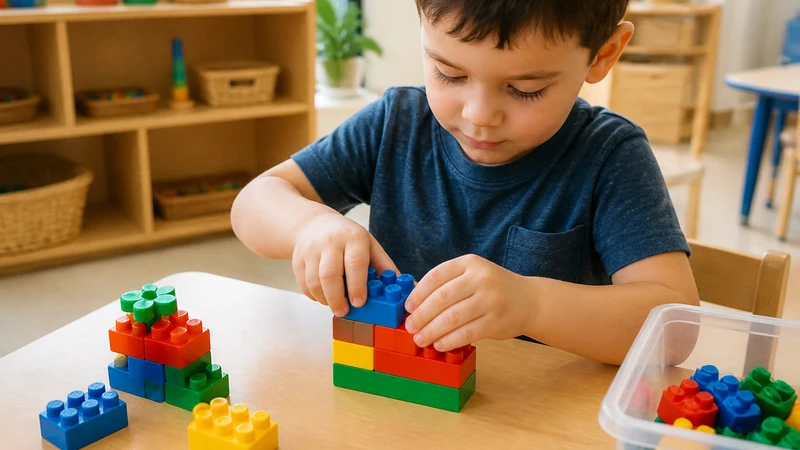
16. Build with Connecting Blocks
Pressing blocks together and pulling them apart develops finger strength and force control. Give children a stable base and a limited selection of pieces. Copying a simple model adds visual planning, while open-ended building allows children to repeat the motor action through play.
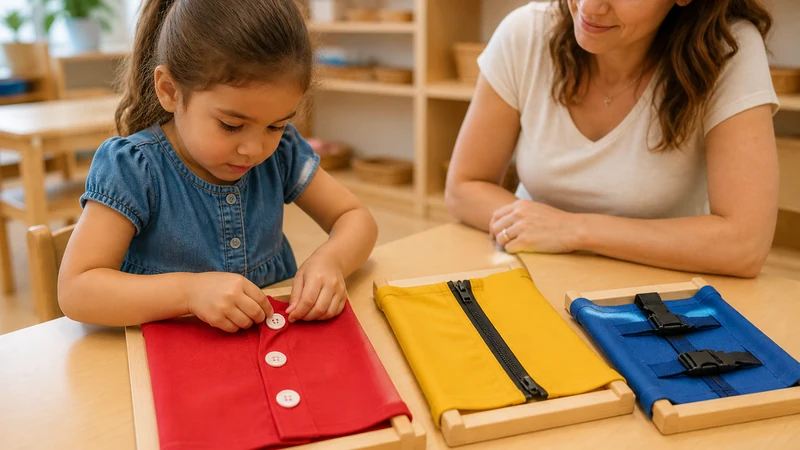
17. Practise Buttons, Zippers and Buckles
Dressing frames, old garments and fabric boards connect fine motor practice with independence. Present one fastener at a time and place the item flat on a table before expecting children to manage it while wearing it. The CDC’s four-year milestone guidance includes unbuttoning some buttons and holding a crayon or pencil between the fingers and thumb, while noting that milestone checklists are not diagnostic screening tools.
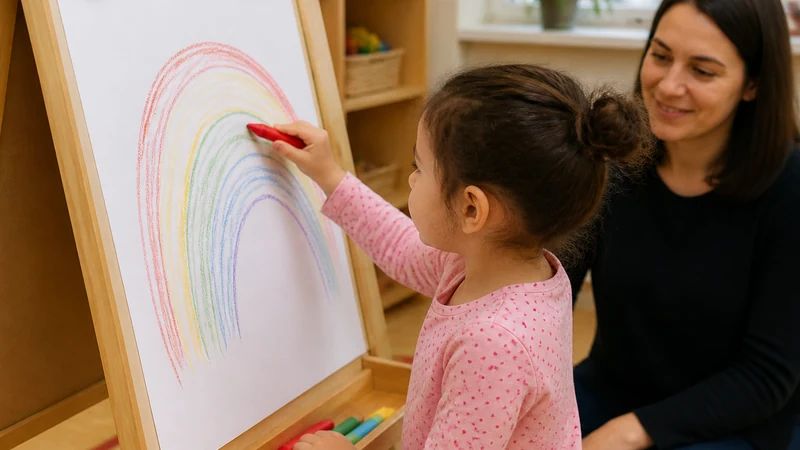
18. Trace Paths and Draw on Vertical Surfaces
Use chalkboards, easels or paper attached securely to a vertical surface. Broad paths and large shapes allow children to coordinate the arm, wrist and fingers before working on smaller marks. Offer short crayons or chalk only when they are safe and comfortable for the child; the goal is controlled movement, not forcing one grip.
19. Squeeze Sponges During Practical Tasks
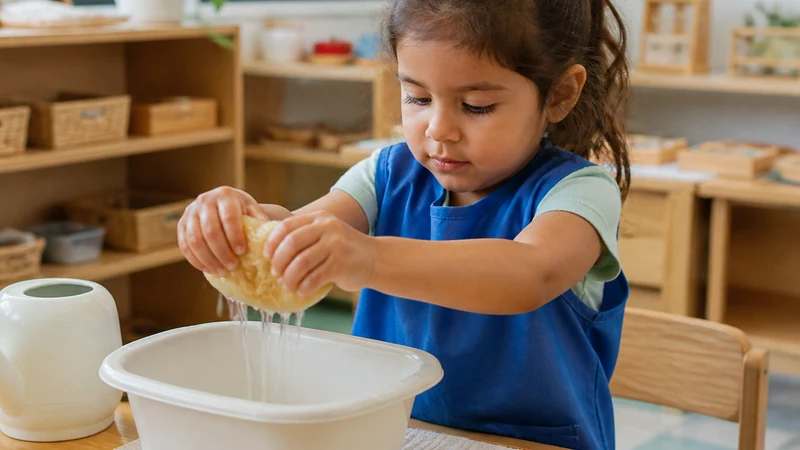
Children can transfer water between two bowls with a sponge or help wipe a washable table. Squeezing uses the whole hand, while carrying and releasing water requires control. Keep the water volume small, use a non-slip tray and treat spills as part of the activity rather than failure.
20. Arrange Small Materials on a Light Table
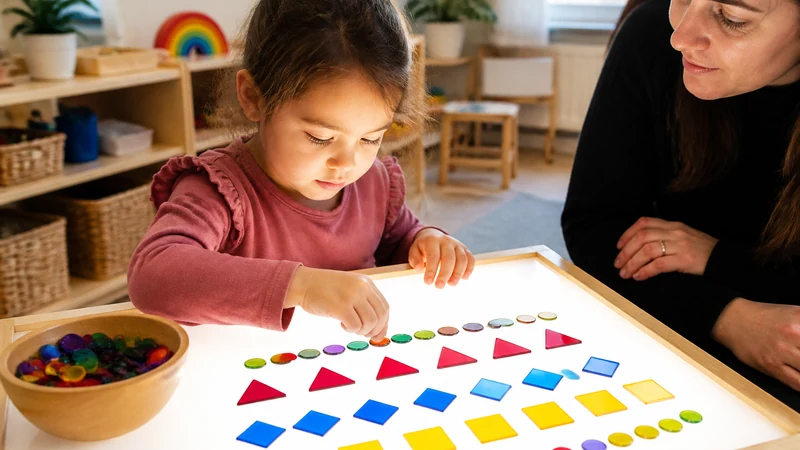
On a light table, children can place translucent shapes, trace broad outlines, build patterns or move pieces with tongs. The illuminated surface makes edges and positions easy to see, which can support careful placement. Keep the activity focused by offering one material set at a time. See these preschool light table activities for more ways to organize the equipment and materials.
How to Set Up a Fine Motor Learning Center
A useful fine motor center should let children see, choose, carry and return materials with limited adult help. Place a small number of complete activities on a low shelf. Keep every activity in its own tray or basket, and make sure the work surface is close enough that children do not carry loose pieces across the room.
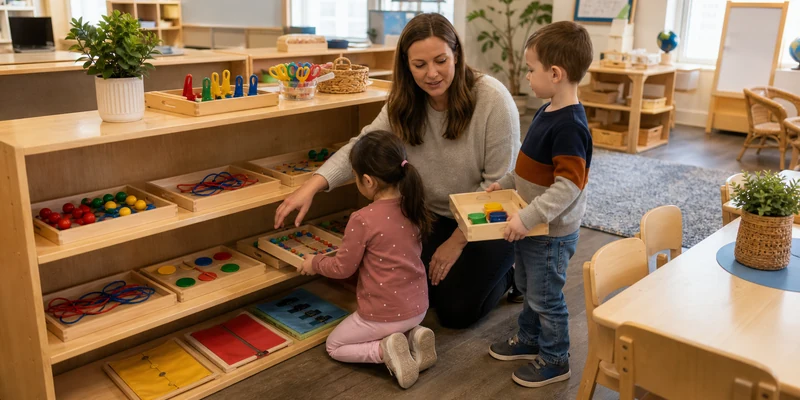
- Display fewer activities and rotate them when interest or skill needs change.
- Store each setup as a complete activity so teachers are not rebuilding it during class.
- Use a defined table or floor mat to contain materials.
- Separate activities with loose pieces from busy circulation routes.
- Provide a clear place for finished work, used tools and items that need cleaning.
- Use open shelving for independent choices and closed classroom storage cabinets for teacher-only supplies or rotation materials.
If you are organizing several activity areas at once, this guide to set up learning centers explains how to plan materials, seating, storage and classroom boundaries together.
How to Adjust Difficulty Without Changing the Whole Activity
Change one variable at a time. Larger objects, wider openings, shorter laces, softer resistance and fewer pieces make a task easier. Smaller targets, firmer resistance, longer sequences, sorting rules and pattern copying make it harder. If you change the material, instructions and time limit together, you cannot tell which change caused success or frustration.
| If the activity is too difficult | If the activity is too easy |
|---|---|
| Use larger pieces and targets | Use a smaller but still age-appropriate target |
| Reduce the number of steps | Add a short sequence or pattern |
| Use softer resistance | Use slightly firmer resistance |
| Stabilize the tray or material | Ask the helper hand to hold or rotate the material |
| Model one action, then pause | Add sorting, counting or design choices |
What Should Teachers Observe?
Observe how the child approaches the task rather than grading the finished product. Notice whether the child uses both hands together, can release objects deliberately, changes grip when needed, controls force and stays comfortable. Also watch for persistent pain, extreme fatigue, loss of previously acquired skills or frustration across many everyday tasks.
Children develop at different rates, and a classroom activity is not a diagnostic test. If a teacher or family has an ongoing concern about a child’s development, they should discuss it with the appropriate healthcare or early-intervention professional. CDC milestone materials also state that milestone checklists do not replace standardized developmental screening.
Fine Motor Activity Safety Checklist
- Match every loose part and tool to the children’s age and developmental level.
- Follow your local licensing rules and program policies for choking hazards and sensory materials.
- Supervise scissors, hole punches, small pieces, water activities and any unfamiliar tool.
- Inspect wooden pieces, trays and tools for cracks, splinters, loose parts or sharp edges.
- Use non-toxic, washable materials and check allergy information when food or natural materials are involved.
- Keep activities off the floor and out of circulation paths unless the setup is designed for floor work.
- Clean shared tools according to the material manufacturer’s instructions and your center’s hygiene policy.
Requirements vary by jurisdiction. Always confirm current requirements with your local licensing or regulatory authority.
FAQs
How often should preschoolers do fine motor activities?
Offer regular opportunities across the day rather than relying on one long lesson. Art, dressing, snack preparation, construction play and classroom cleanup all provide useful practice. A focused tray can remain available as long as children use it purposefully and comfortably.
Do fine motor activities need special equipment?
No. Play dough, paper, sponges, stickers, containers and child-safe kitchen tools can support many hand movements. Purpose-built trays and manipulatives are useful when they make the activity easier to organize, repeat and adjust.
What if a preschooler avoids drawing or cutting?
Begin with a different activity that practises the same underlying movement. Dough, tongs, stickers, pegboards and water transfer may feel more playful and can build control before the child returns to pencils or scissors. Avoid forcing long practice sessions.
Are worksheets good for fine motor development?
Worksheets can provide limited pencil-control practice, but they do not replace squeezing, threading, building, cutting, pouring and self-care tasks. Preschoolers benefit from varied, hands-on activities that develop more than one component of hand control.
Build Fine Motor Practice into the Classroom
The most effective fine motor activities are the ones children can repeat with the right level of challenge. Choose a small group of activities that use different hand actions, place them where children can work safely and adjust one variable when a task becomes too easy or frustrating.
If you are selecting learning materials or planning activity centers for a new preschool classroom, West Shore can help you compare product options and organize furniture around your room size, child capacity and teaching needs. Send your floor plan or project requirements to request product recommendations and classroom layout support.