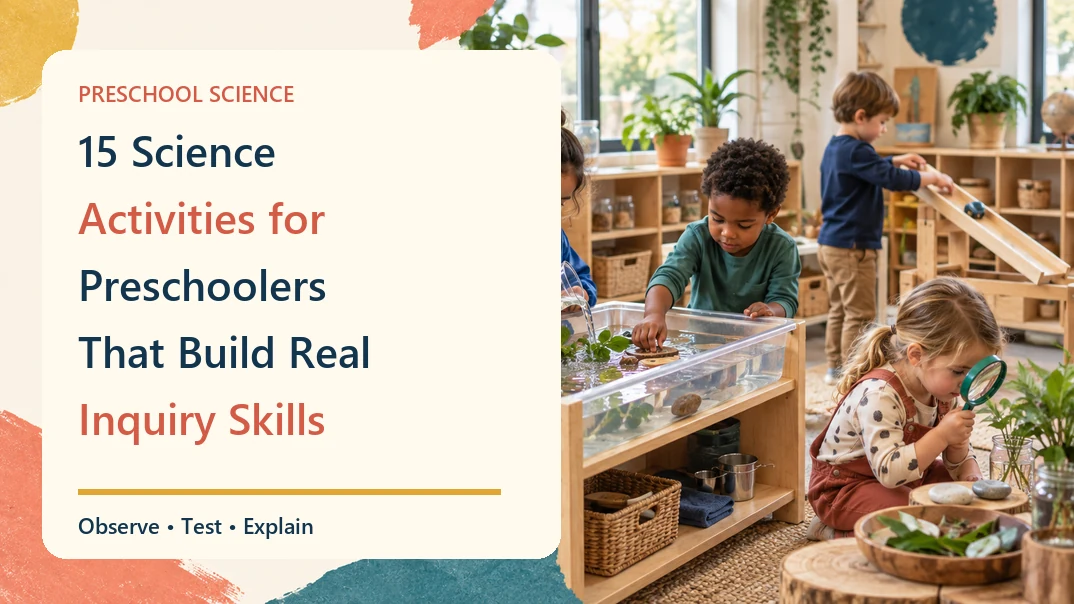
Preschool science becomes useful when children can observe, predict, test, describe, and try again. The 15 activities below use simple materials and start with a real question. Each section gives you the setup, teacher prompts, and a practical way to record what children notice.
What Makes a Good Science Activity for Preschoolers?
A good preschool science activity gives children a question they can investigate. Start with a question, let children make a prediction, and give them time to handle the materials. Head Start describes this cycle as observing, questioning, predicting, exploring, reflecting, and communicating. You can use the same cycle for a five-minute table invitation or a project that lasts several weeks.
Use the prompts below as a flexible structure:
- Ask: What do you think will happen?
- Predict: What makes you think that?
- Test: What can you change or compare?
- Notice: What happened first, next, or differently?
- Record: Can you draw, sort, count, photograph, or tell the story?
- Try again: What will you change in the next test?
If a prediction does not work, ask what the result tells you and choose the next test from that evidence.
15 Science Activities for Preschoolers
1. Sink-or-Float Sorting
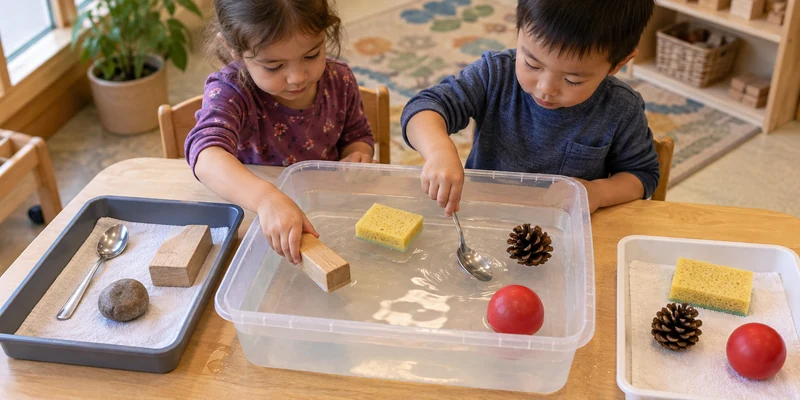
Question: Which objects will sink, and which will float?
You need: A shallow water tray, a towel, a basket of large classroom-safe objects such as a wooden block, plastic lid, sponge, pinecone, stone, rubber ball, and metal spoon, plus two sorting hoops or trays.
Invite children to hold one object, describe it, and place it in a “sink” or “float” prediction area before testing it. Test one object at a time, then move it to the result area. Ask children to compare objects that look similar but behave differently, such as a wooden block and a metal spoon. Invite them to revise the prediction; avoid teaching the result as a fixed rule about every object made from that material.
Teacher prompt: “What could we change about the object or the water to make a new test?” Keep the water shallow, supervise closely, and remove any item that could fit in a child’s mouth.
2. Color-Mixing Water Lab
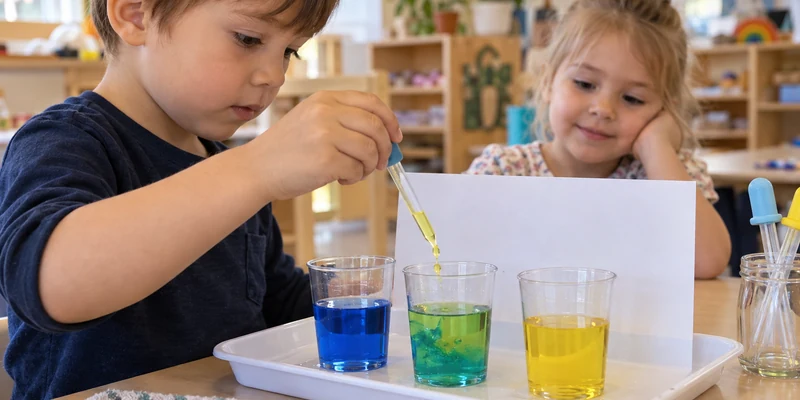
Question: What new color appears when two colors meet?
You need: Clear, stable cups; a tray; small pitchers; water tinted with washable food coloring; droppers or small spoons; and a white card behind the cups.
Offer two colors first so children can focus on the change. Ask them to predict the result, combine a small amount, and compare the new color with the original cups. You can extend the activity by asking children to make a lighter shade with more water or to create a “recipe” drawing showing which colors they mixed.
Our practical note: Place this invitation on a washable work surface close to a handwashing or cleanup point. A low tray and a clearly labeled home for droppers reduce spills and make it easier for children to reset the activity independently.
3. Seed Sprout Observation Journal
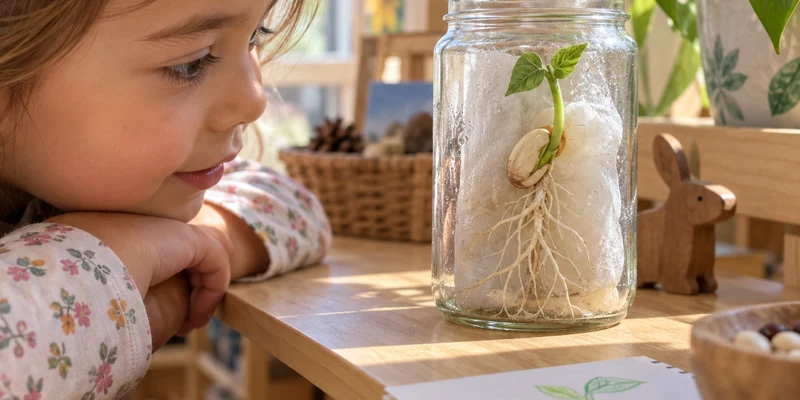
Question: What changes can you observe as a seed begins to grow?
You need: Large beans or peas, clear jars, paper towels, water, a sunny shelf, a ruler, and a simple observation journal.
Moisten the towel, place the seed against the side of the jar, and invite children to draw what they see on the first day. Revisit the jars at a consistent time. Children can sketch the root, stem, and leaves, compare two seeds, and talk about what the plant might need next. Avoid promising that every seed will grow on the same schedule; variation is evidence worth discussing.
Extension: Connect the observation to West Shore’s life-science materials or leaf cards when children are ready to compare real plant forms and vocabulary.
4. Ice-Melt Race
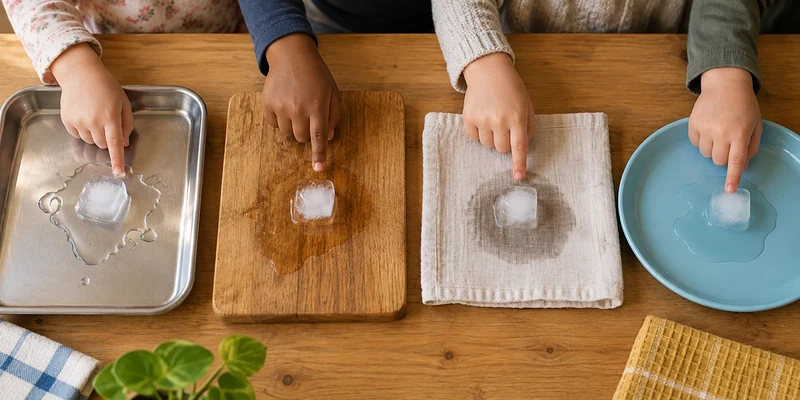
Question: Which surface will make an ice cube melt fastest?
You need: Matching ice cubes, a metal tray, a wooden board, a cloth square, a plastic plate, and a timer or observation cards.
Place one ice cube on each surface and ask children to predict the order. Record the first puddle as one data point, then invite children to check at regular intervals and describe size, shape, and water. You can repeat the test with a shaded and sunny location, but change one condition at a time so children can connect the result to the question.
Use a towel under the materials and keep the activity away from walking paths. The clean-up is part of the science routine: children can wipe the tray, return the surfaces, and explain what they changed for the next test.
5. Shadow Tracking
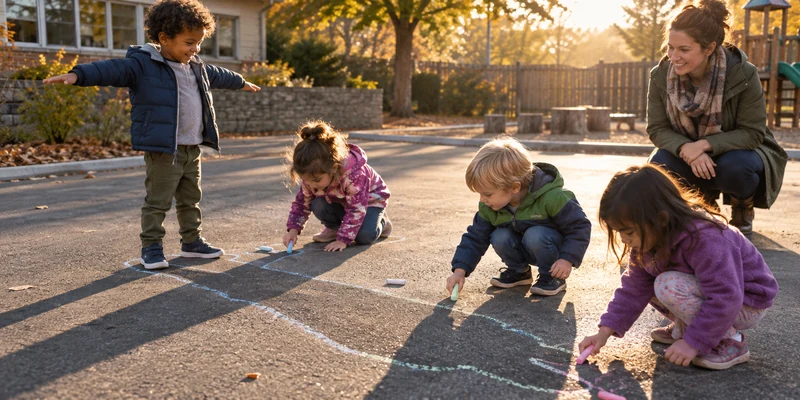
Question: Does a shadow stay in the same place all day?
You need: Chalk, an open patch of pavement, a toy or standing object, and a camera or sketch paper for documentation.
Trace the outline of an object or a child’s shadow, mark the time, and return later to trace it again. Ask children what moved: the object, the shadow, the sun, or all three? Begin with a short outdoor session and return when the group is ready for another comparison. On a cloudy day, use a flashlight indoors and compare the shadow when the light moves closer or farther away.
Check the ground temperature, weather, and supervision plan before taking the group outside. Choose a clear route so the activity does not interfere with active play.
6. Large-Magnet Material Hunt
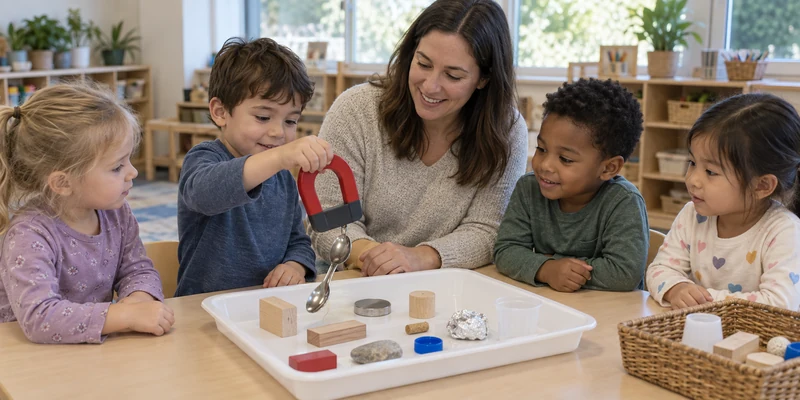
Question: Which materials are attracted to a magnet?
You need: One large, enclosed classroom magnet, a tray of large test objects, and two baskets labeled “attracted” and “not attracted.”
Let children test one object at a time, then record the result with a drawing or simple mark. Ask them to compare objects that look alike, such as a wooden craft stick and a metal spoon. Keep the question visible so children compare materials and observe a force they cannot see.
Never use loose high-powered magnets or allow magnets near mouths. The U.S. Consumer Product Safety Commission’s magnet guidance explains the serious ingestion risk. Use only age-appropriate, intact materials and adult supervision.
7. Ramp-and-Roll Test
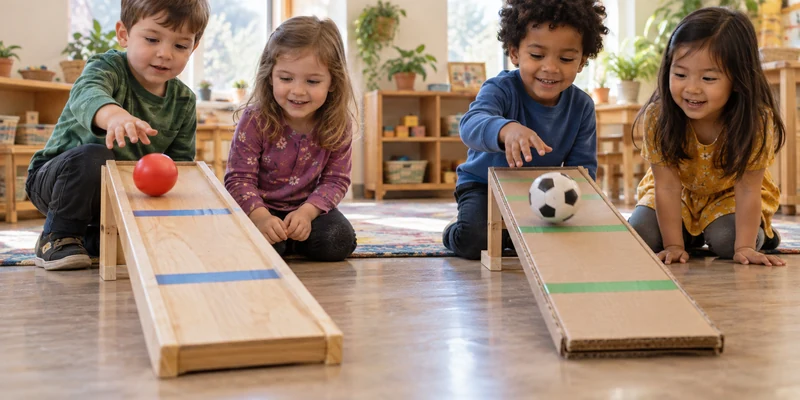
Question: What makes a ball roll farther or faster?
You need: Cardboard or wooden ramps, blocks for different heights, balls of different sizes, and a tape line showing where each ball stops.
Start with the same ball and change only the ramp height. Then keep the height steady and compare a smooth ramp with a fabric-covered ramp. Ask children to describe speed and distance without requiring precise measurement. A child can mark the stopping point with a card or place a block at the end of the roll.
Keep ramps low and stable, with a clear landing zone. If the group is crowded, run two small tests; fewer variables usually create better conversations.
8. Foil-Boat Engineering Challenge
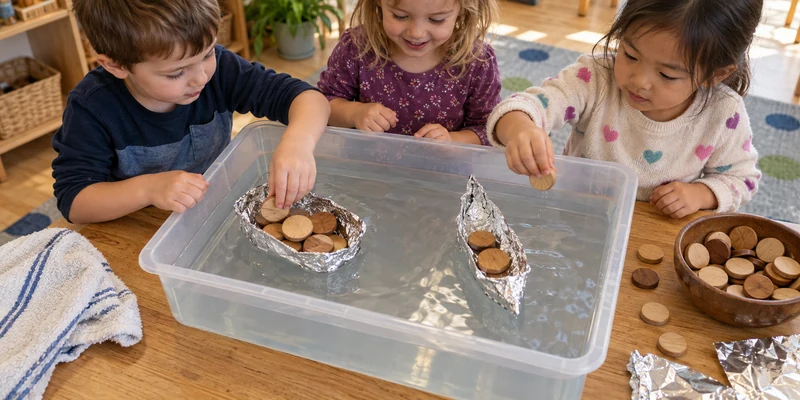
Question: How can you shape foil so a boat carries more counters without sinking?
You need: Small sheets of aluminum foil, a shallow water bin, large wooden counters or blocks, towels, and a place to display each design.
Give each child or pair one equal-size foil sheet. Ask them to build a boat, predict how many counters it will carry, and test it one counter at a time. When a boat sinks, ask children to inspect the shape: Was the base flat? Were the sides high enough? Did the load stay balanced? Let them redesign before you demonstrate another shape.
Choose large counters, keep the bin on a stable table, and dry the floor as soon as water escapes. Photographing the first and second designs gives children a clear way to discuss change.
9. Wind and Ribbon Investigation
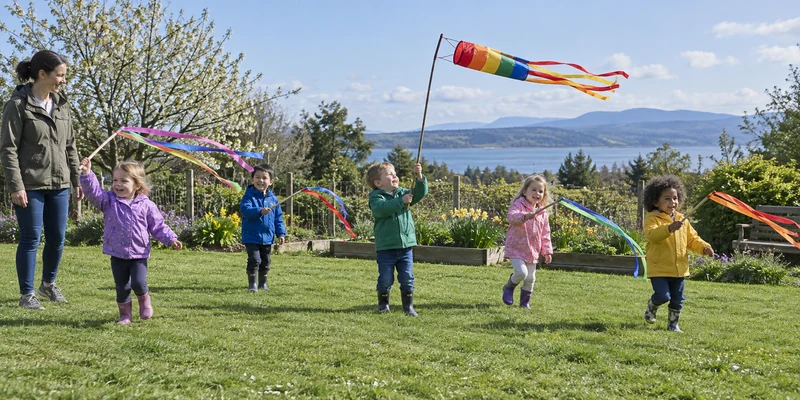
Question: How can you tell which way the wind is moving?
You need: Ribbons attached to sturdy sticks, paper streamers, a child-sized windsock, and a simple outdoor observation sheet.
Stand in one place and hold the ribbons still before releasing them. Ask children to point in the direction the ribbons move, then walk to a more sheltered location and compare. You can test whether a wide ribbon and a narrow ribbon move in the same way. Ask children to use the ribbons and streamers as evidence before you introduce the word “wind.”
Check sticks for sharp edges, keep the group away from roads and climbing equipment, and pause the activity during strong gusts or storms.
10. Sound-Shaker Investigation
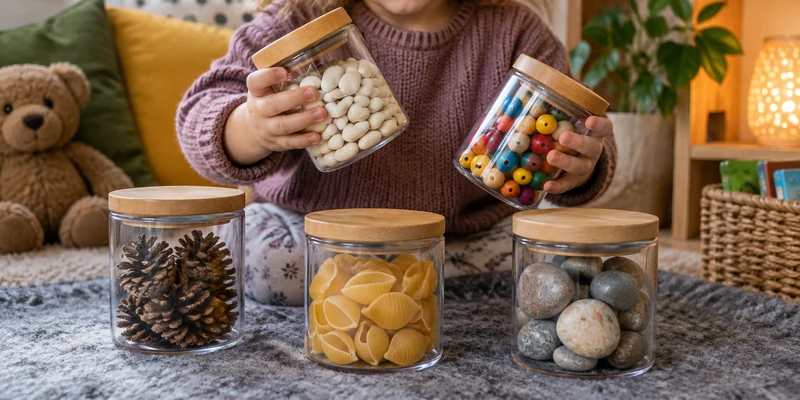
Question: What changes the sound a shaker makes?
You need: Securely sealed, transparent or labeled containers filled with different large materials such as wooden blocks, pasta tubes, or fabric scraps; a quiet listening area; and a simple sound chart.
Invite children to shake one container gently, listen, and compare it with another. Ask whether the sound is loud or soft, fast or slow, high or low, then ask what they think is inside. Open the containers only with an adult. Children can sort shakers by sound and record their choice with a drawing.
Use tamper-resistant containers, inspect seals before every session, and keep loose filler materials away from children who still mouth objects. Work with a small group so everyone can hear the differences.
11. Bubble Shape and Surface Test
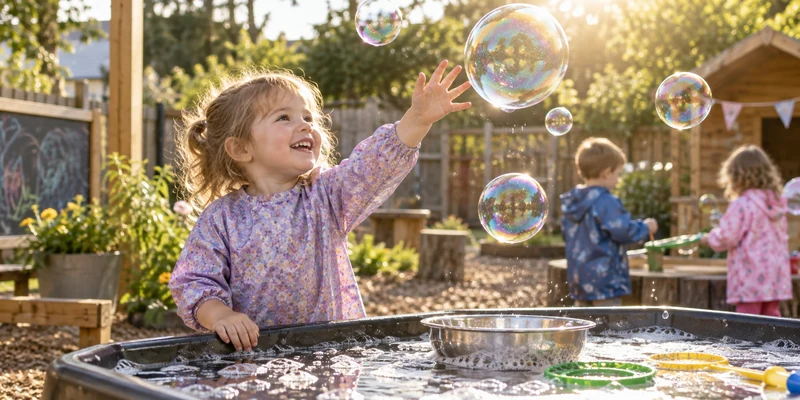
Question: Do bubbles look or last differently on different surfaces?
You need: Bubble solution, large bubble wands, a shallow tray, a smooth table, a damp cloth, and an outdoor or washable test area.
Blow bubbles over two surfaces and ask children to compare how long they remain, how they move, and what happens when they touch a wet or dry area. Large wands help children see the whole bubble and keep the investigation in one area. Children can draw a bubble before it pops and tell you what changed.
Keep solution away from eyes and mouths, wipe spills immediately, and avoid running. A shallow tray and a washable table make the activity easier to manage than a large open container.
12. Nature Sorting with Magnifiers
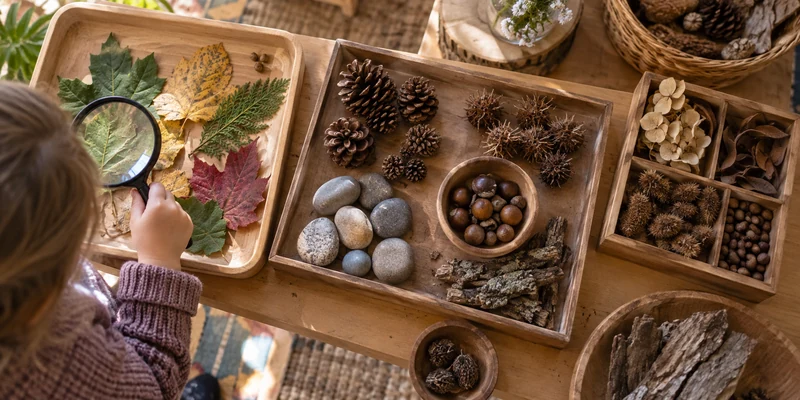
Question: How else can you group natural objects?
You need: Large leaves, seed pods, pinecones, smooth stones, bark pieces, trays, magnifiers, and a camera or drawing cards.
Begin with a child-created sort: color, size, texture, shape, or where the object was found. Then challenge children to regroup the same objects using a different rule. Ask them to explain the rule so another child can follow it. If you are working on plant vocabulary, connect the experience to West Shore’s botany nomenclature cards after children have handled real leaves.
Check outdoor materials for insects, sharp edges, and choking hazards. Wash hands after collecting and keep the collection small enough to inspect and return.
13. Rain Gauge and Weather Log
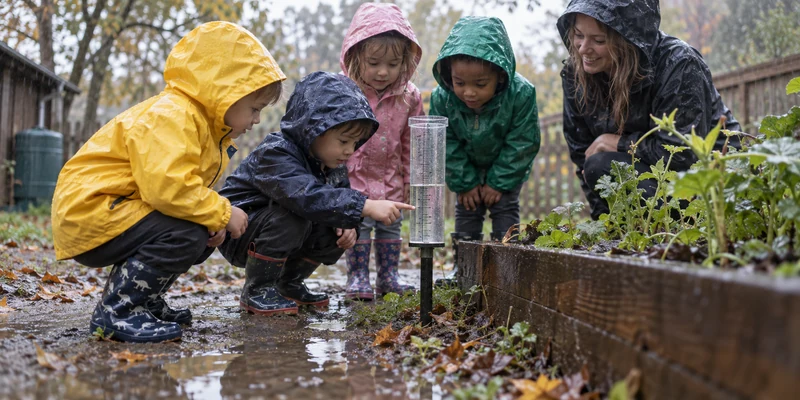
Question: How does the amount of rain change from day to day?
You need: A stable, wide-mouth measuring container with large markings, a sheltered observation point, a weather chart, and a pencil or camera.
Place the gauge where children can see it but cannot knock it over. Check it at the same time each day, record the level with a drawing or mark, and empty it after the observation. Compare rainy and dry days, then ask what else changed: clouds, puddles, wind, or temperature. In a busy classroom, each child can add one observation before the gauge is emptied.
Use a container with no sharp edges, keep children away from slippery surfaces, and supervise every outdoor check. Do not leave standing water accessible after the lesson.
14. Absorbency Test
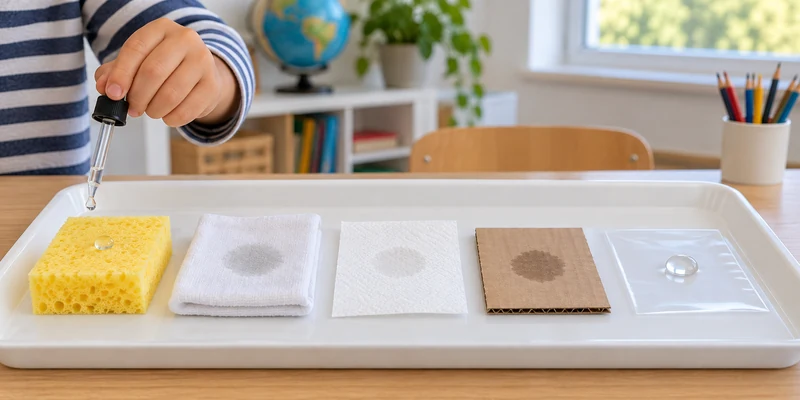
Question: Which material absorbs the most water?
You need: Equal squares of sponge, cloth, paper towel, cardboard, and plastic; a dropper or small spoon; a tray; and a towel for cleanup.
Give each material the same number of drops and ask children to look, touch, and compare. Which material looks darker? Which holds its shape? Which lets the water run off? Repeat with a dry material and a slightly wet one so children can see that the starting condition affects the result.
Link the investigation to classroom routines: Which material would you choose for a spill, a paintbrush, or a wet hand? Keep the test on a washable surface and make sure children do not taste the materials.
15. Light and Transparency Table
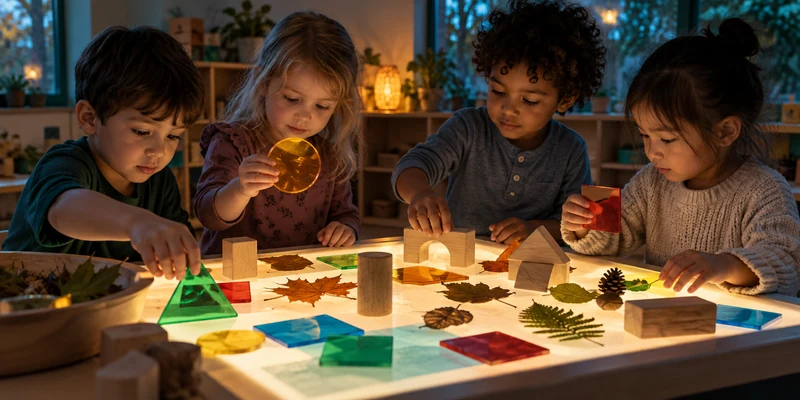
Question: What happens when light passes through, around, or stops at an object?
You need: A low light table or safe light panel, large clear objects, colored translucent shapes, opaque blocks, natural materials, and a darkened but supervised area.
Invite children to place one object over the light, then describe what they can see. Ask them to sort objects into “light passes through,” “some light passes through,” and “light is blocked.” Add leaves, seed pods, or transparent containers to connect the table to the nature and water investigations in this article. Children can sketch the shape they see on the surface and change the distance between the object and the light.
Use equipment designed for classroom use, check the power requirements for your location, and keep cords secured. West Shore’s guide to preschool light-table activities explains how to select materials for a clear learning purpose and keep the surface readable.
How Do You Set Up a Preschool Science Area?
Arrange the environment so children can repeat an investigation with the approved tools in view. You need a stable work surface, reachable storage, a cleanup route, and a place to make observations visible.
- Put wet work near cleanup: Keep water, ice, bubbles, and absorbency tests close to a sink, washable floor, or clearly marked drying area.
- Use accessible but bounded storage: Low open shelving can hold trays, magnifiers, jars, and recording tools. Keep chemicals, cleaning products, loose small parts, and adult-only equipment locked or out of reach.
- Leave a documentation surface: A clipboard, wall panel, or small display shelf gives children a place to revisit predictions and results.
- Protect sightlines: Place the science area where you can supervise without blocking the main circulation path.
- Plan for rotation: Display only the materials needed for the current question. Store the next investigation in labeled bins so the area stays calm and readable.
At West Shore, we plan the science area as part of the classroom workflow. Our team starts with age range, group size, room dimensions, wet-work needs, storage access, and teacher sightlines before discussing a furniture mix. Those inputs help you decide whether a small table invitation, mobile cart, low cabinet, or permanent learning center fits the room.
For a wider process, read our learning-center setup guide and review storage cabinet options that can be configured around the materials you actually use. If you are planning a new room, share the floor plan before you finalize quantities so the storage, work surface, and traffic flow can be checked together.
How Do You Extend a Science Activity?
Extend the activity by changing one condition, adding a way to record evidence, or inviting children to explain the result to someone else. Keep the next step simple so children can identify what changed.
For example, after sink-or-float testing, ask children to design a foil boat. After observing sprouts, compare two growing locations. After sorting leaves, let children create a class field guide. After the shadow activity, add a flashlight and a translucent object. The next step should grow from what children noticed, not from a fixed worksheet sequence.
Use open-ended questions such as “What makes you say that?”, “What could we keep the same?”, and “What would you like to test next?” The Head Start guide to exploring science with preschoolers and the NAEYC discussion of science and language learning both emphasize that children’s explanations and conversations are part of the science, not an extra after the activity.
FAQs About Science Activities for Preschoolers
How long should a preschool science activity last?
Give children time to observe and record. A guided test may take 10–20 minutes, while a seed journal or weather log can continue for weeks. End the session when children have documented or explained something.
Do preschool science activities need special equipment?
No. Clear cups, trays, water, natural objects, paper, blocks, light, and safe everyday tools can support useful investigations. Special materials help when they improve access or accuracy, but they should not replace a clear question and time to explore.
What should you do when a child’s prediction is wrong?
Thank the child for making a testable prediction, then ask what the result tells you. Avoid calling it a failure. “It did not happen the way we expected” gives children a reason to look again, change one variable, and build a better explanation.
How do you keep preschool science activities safe?
Use materials that match the children’s age and abilities, supervise water and outdoor work, remove choking hazards, secure furniture, and inspect equipment before use. Avoid loose high-powered magnets and hazardous chemicals. Requirements vary by jurisdiction, so confirm current requirements with your local licensing or regulatory authority.
How can a small classroom make room for science?
Start with one mobile tray, one washable work surface, and a small open shelf. Rotate the question and materials as your program changes. Keep the tray near cleanup and use a wall or clipboard for documentation so the investigation stays contained.
Conclusion
Start with a real question, safe materials, and enough time for children to notice change. The 15 activities in this guide cover water, light, sound, plants, weather, forces, materials, and simple engineering. Choose one that fits your classroom today, document what children notice, and let their next question shape what you offer tomorrow.
Planning a preschool science area, classroom renovation, or multi-room project? Explore West Shore’s classroom planning resources, then send your room dimensions, age range, and workflow needs for a practical furniture and layout discussion.