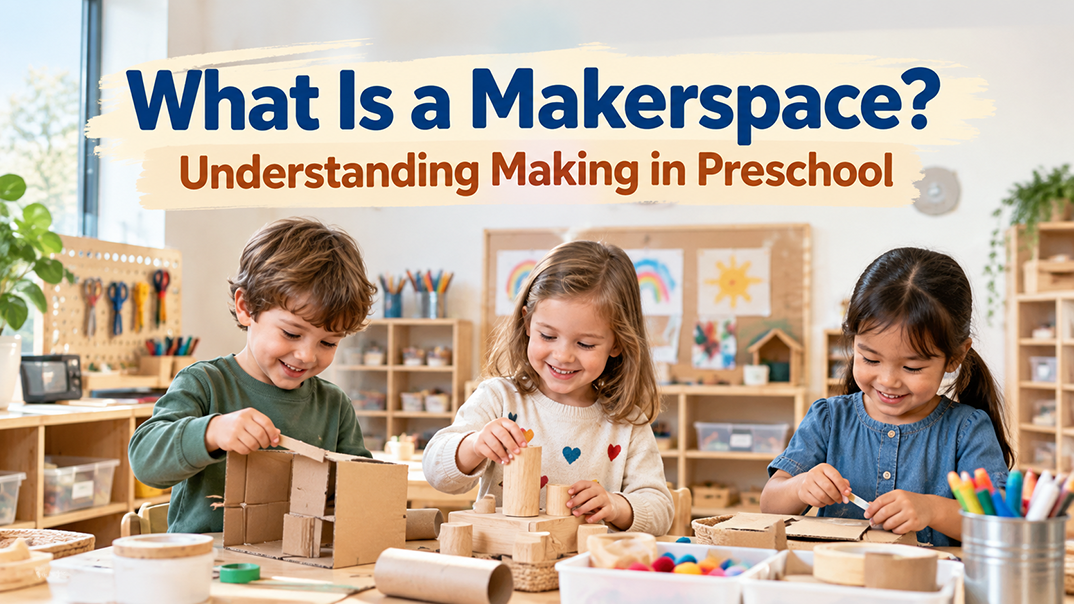
A makerspace is a hands-on learning space where children use different materials to create, build and explore their own ideas. In preschool, it gives children opportunities to experiment, solve problems and learn through making rather than following step-by-step instructions. You don’t need expensive equipment or a dedicated room to introduce one into your classroom. In this guide, you’ll learn what a makerspace is, how it works in preschool and how you can make the most of it in your classroom.
What Is a Makerspace?
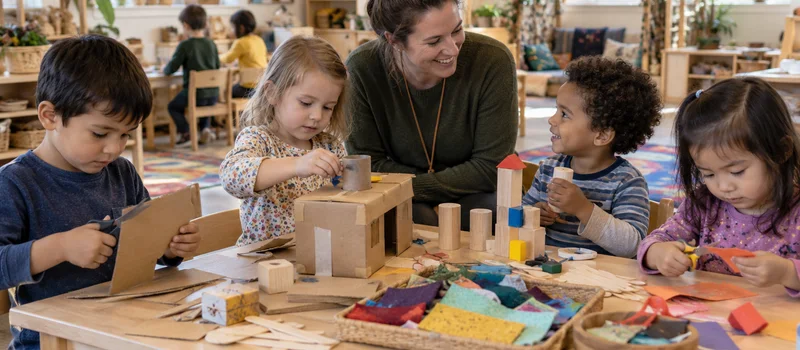
A makerspace is a hands-on learning area where children can design, build and experiment with different materials. Unlike activities where everyone follows the same instructions to make an identical object, a makerspace allows children to explore their own ideas and decide how to bring them to life. You provide the materials and guidance, while children take an active role in deciding what to make and how to make it.
You can recognize a makerspace experience by a few key characteristics:
- Open-ended activities: Children can approach the same task in different ways without having to produce identical results.
- Flexible materials: Items such as cardboard, blocks and fabric can be combined or adapted for different purposes.
- Hands-on exploration: Children learn about materials and objects by handling them and observing how they behave.
- Opportunities to experiment: Children can make adjustments when something does not work as expected.
You may already have some of these experiences happening in your classroom. The difference is that a dedicated makerspace gives children consistent access to materials and a place to develop their ideas over time. It also fits naturally into maker-centered learning in early childhood, where children become active participants in creating and understanding the things around them.ng and reflection.
What Do Children Do in a Makerspace?
Children can take part in many different activities in a makerspace, from building simple structures to creating objects for pretend play. Rather than following a fixed lesson, they usually begin with something they want to make or a problem they are interested in solving. Your role is to provide a useful starting point and let the activity develop around their ideas.
A typical makerspace activity might involve the following steps:
- Come up with an idea: Children decide what they want to create or identify something they would like to figure out.
- Choose materials: They look through the available supplies and select what they think will work.
- Build or create: Children put their ideas into action by arranging, joining or shaping materials.
- Try it out: They see whether their creation works the way they intended.
- Make changes: If something needs improving, they adjust their design or experiment with another approach.
- Share their work: Children explain what they made, show how it works or talk about what they discovered.
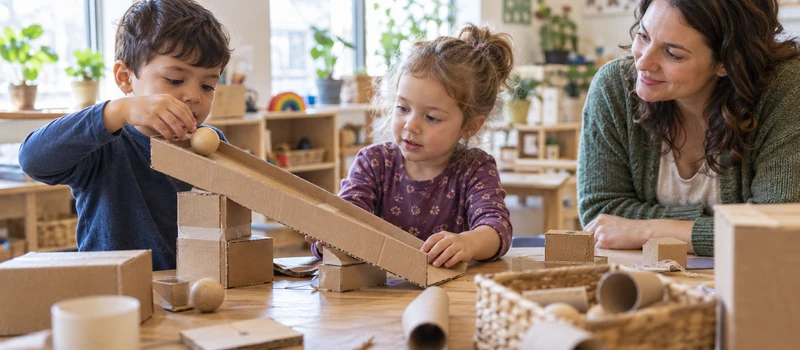
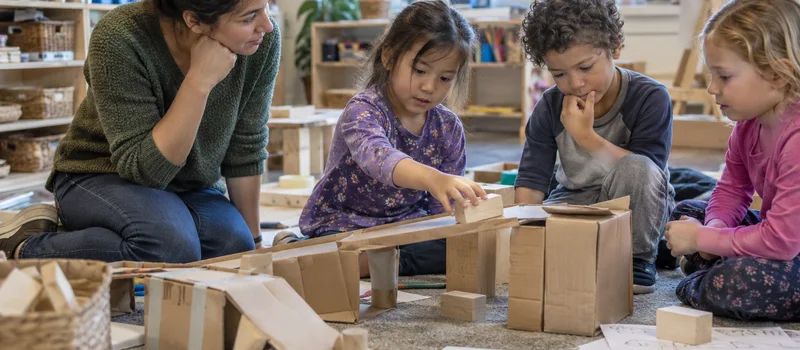
For example, you might invite children to build a bridge that can support a small toy car. Some may use blocks and cardboard, while others try wooden pieces. When a bridge collapses, children can experiment with different supports or materials until they find an arrangement that works better.
You do not need to guide children through every step or expect them to complete the process in one session. Some activities take only a few minutes, while others develop over several days. Giving children time to return to an unfinished project can help them explore an idea more thoroughly.oud. If you only look for a finished object or a verbal explanation, you may miss this early thinking. Observation becomes especially important when children are still developing the language to describe what they know.
How Is Makerspace Learning Different From Other Preschool Activities?
Makerspace learning often overlaps with art, block play, free play and dramatic play. Children may use similar materials in these activities, but the learning focus and how they approach the materials can be different. Understanding these differences can help you decide when to introduce makerspace activities into your classroom.
| Activity | Main Focus | Key Difference From Makerspace Learning |
|---|---|---|
| Art Activities | Creative expression | Focus on expressing ideas and exploring artistic techniques rather than testing how something works. |
| Block Play | Construction and spatial awareness | Focus on building and exploring structures, without necessarily involving a specific design problem or improvement process. |
| Free Play | Child-directed exploration | Children follow their interests freely, without necessarily working toward a particular creation or investigating a problem. |
| Dramatic Play | Imagination and social interaction | Focus on pretending, taking on roles and recreating situations rather than designing and testing objects. |
| Makerspace Learning | Designing, experimenting and problem-solving | Children develop ideas, select materials, test their creations and make changes based on what they discover. |
These activities do not have to be completely separate. For example, children building a tower with blocks are engaging in block play. When they start experimenting with different supports to make the tower more stable, they are also engaging in makerspace learning.
You can introduce makerspace experiences within your existing learning areas without creating an entirely separate space. What matters is giving children opportunities to explore their ideas, experiment with materials and make their own decisions.
Which Materials Are Used in a Makerspace?
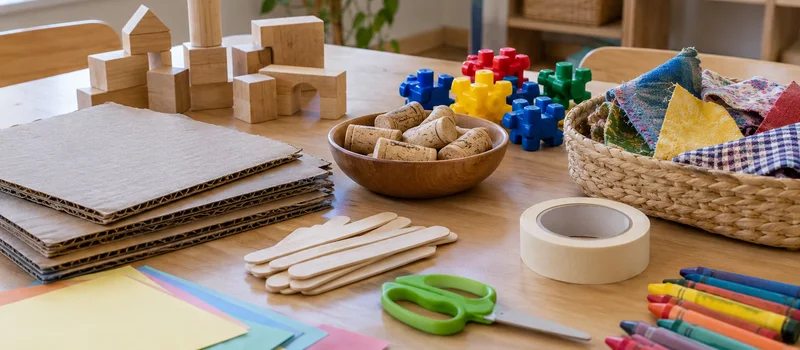
You don’t need expensive or specialized equipment to set up a preschool makerspace. Many everyday materials, such as cardboard, fabric, wooden blocks and recycled containers, are enough to get started. The key is to choose materials that children can easily handle, combine and use in different ways.
Here are some common materials you can include in your makerspace:
| Material Category | Examples | How Children Use Them |
|---|---|---|
| Building Materials | Cardboard boxes, paper tubes, wooden blocks, craft sticks | Build structures, models and simple objects |
| Joining Materials | Masking tape, glue, large connectors, paper fasteners | Connect different pieces and hold structures together |
| Creative Materials | Paper, fabric, yarn, clay, crayons | Shape, decorate and express their ideas |
| Movement Materials | Ramps, wheels, balls, string | Explore movement, balance and cause and effect |
| Natural and Recycled Materials | Pinecones, large corks, smooth stones, clean containers | Explore different textures, shapes and material properties |
| Child-Safe Tools | Scissors, brushes, hole punches, tape dispensers | Cut, shape and assemble materials with appropriate supervision |
You don’t need to make every material available at once. Start with a small selection and introduce new items based on children’s interests and the projects they are working on. Using a variety of loose parts can also give children more flexibility to create and experiment.
When organizing your materials, use low shelves, labeled containers and accessible storage so children can find and return items independently. Keep tools that require adult supervision separate, and regularly check recycled materials for sharp edges, broken pieces or other potential hazards. Choose materials that are appropriate for the children’s ages and abilities, especially when small parts are involved.e for the children using them, whether reclaimed materials are clean and intact, and whether tools match the children’s current abilities.
What Do Children Learn Through Making?
A makerspace gives children opportunities to use several skills together while working on something that interests them. As they build and experiment, they encounter questions that encourage them to observe, think, communicate and make decisions. These experiences can support different areas of development without requiring separate activities for every skill.
Some of the most valuable learning opportunities include:
- Problem-solving: Children learn to recognize difficulties and explore possible solutions. They begin to understand that there may be different ways to approach the same problem.
- Creative thinking: Choosing materials and developing original ideas encourages children to consider different possibilities and use familiar objects in new ways.
- Early STEM skills: Working with shapes, structures and moving objects gives children opportunities to explore balance, measurement, forces and cause and effect. Improvements in children’s STEM thinking skills when making activities are thoughtfully integrated into classroom learning.
- Fine motor development: Cutting, folding, connecting and shaping materials give children meaningful opportunities to practise hand coordination and control.
- Communication and collaboration: When children work together, they practise sharing ideas, listening to others, discussing materials and making decisions as a group.
- Persistence and confidence: Experimenting with different solutions helps children become more comfortable with challenges and learn from their attempts.
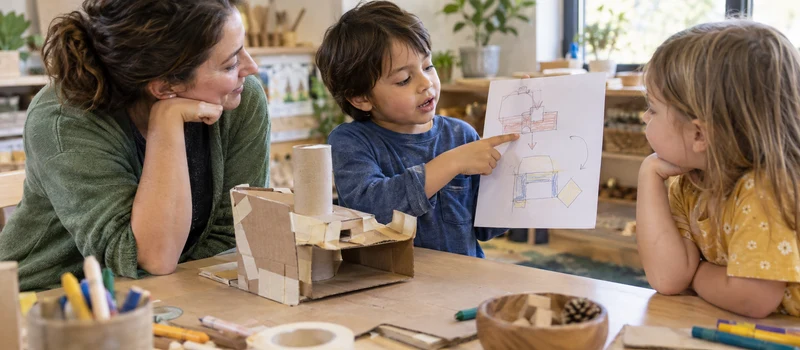
You can often see these skills developing during an ordinary activity. A child building a cardboard house may need to work out how to connect the walls, explain their idea to a friend and adjust the roof when it falls. One project can involve several kinds of learning because children are using their skills together for a purpose.
How Do Teachers Support Makerspace Learning?
Your role in a preschool makerspace is to guide children without taking over their work. By providing the right materials, asking thoughtful questions and giving children room to explore, you can help them develop confidence and problem-solving skills.
Start With an Interesting Invitation
Introduce activities with simple questions related to children’s interests, such as “How could we build a house for our toy animals?” Provide suitable materials and let children decide how to approach the task rather than showing them a finished example to copy.
Give Children Time to Think and Experiment
Allow children to work through challenges before stepping in. If they need help, ask guiding questions like “What could you try differently?” instead of solving the problem for them. This approach supports children’s independent thinking and exploration while allowing you to provide guidance when needed.
Encourage Children to Share Their Ideas
Ask children to explain what they are making and why they chose certain materials. You can also invite them to share their creations with classmates, helping them practise communication and learn from different approaches.
Observe and Document Their Progress
Pay attention to how children choose materials, solve problems and collaborate. Simple photographs, observation notes or conversations can help you understand their progress and plan future activities.
Keep the Space Manageable and Safe
Organize materials so children can access and return them independently. Establish clear rules for using tools, sharing supplies and cleaning up. Regularly inspect materials and adjust the space to suit children’s needs.
FAQs
1. What age can children use a makerspace?
Children can participate in age-appropriate making activities from an early age. Younger children may focus on simple activities such as stacking, joining and exploring materials, while older preschoolers can take on more involved building and problem-solving projects. Choose materials and tools based on the children’s abilities and provide the supervision they need.
2. Does a preschool makerspace need computers or 3D printers?
No. You can create a useful makerspace with everyday materials such as cardboard, blocks, paper and fabric. Digital tools may be introduced when they suit your learning goals, but they are not required for hands-on making activities.
3. Is a makerspace the same as a STEM activity?
Not exactly. Many makerspace activities involve STEM concepts such as engineering, measurement and problem-solving, but they can also include art, storytelling and imaginative play. A makerspace brings these experiences together through hands-on creation and exploration.
4. How long should a makerspace activity last?
There is no fixed time requirement. A simple activity might take 15 to 20 minutes, while a larger project may continue over several sessions. Allow enough time for children to become involved and explore their ideas without rushing to finish.
5. How can teachers tell whether children are learning?
Watch how children choose materials, solve problems, communicate and respond when something does not work. Their explanations and actions can tell you more about their understanding than the appearance of the finished project.
Conclusion
A preschool makerspace gives children a meaningful way to understand ideas through making. They use materials to explore a question, make choices, test their thinking, and respond to what they notice. The value is not limited to the finished object; it also appears in the child’s language, decisions, persistence, and changing understanding.
If you are exploring makerspace learning for your preschool program, West Shore can help you review suitable early-learning materials, compare product options, and connect your learning goals with practical resources for children.