When you start planning a preschool playground, slides, climbing frames, and swings are usually the first pieces of equipment that come to mind. But a truly functional playground involves much more than simply placing equipment in an outdoor space.
You also need to consider children’s ages, how different activities relate to one another, teacher sightlines, surfacing, and how the space will actually be used every day.
This Preschool Playground Design guide will walk you through the key considerations, including design fundamentals, layout planning, equipment selection, safety, budget, and long-term use.
What to Consider Before Planning Your Preschool Playground Design
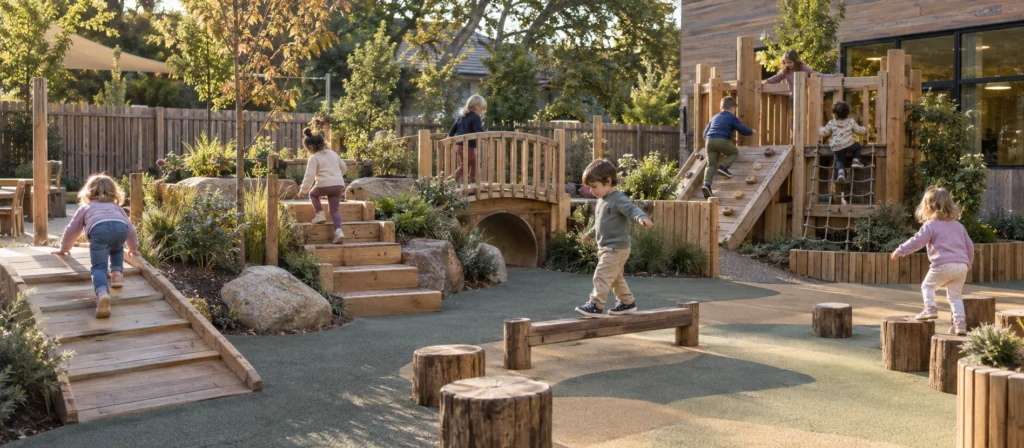
A preschool playground needs its own design logic. Children of different ages vary significantly in body size, coordination, confidence, and play preferences, so simply scaling down equipment designed for older children is not enough.
Target Age Group and Capacity
Determine the primary age range, the number of children using the space simultaneously, and whether mixed-age play will occur; these factors influence equipment size, difficulty levels, and spatial allocation.
Site Conditions
Assess available area, site shape, building access points, existing trees, sunlight exposure, drainage, and current facilities to avoid layout constraints later on.
Play Types and Zoning
Decide in advance which activities are required—such as gross motor play, riding areas, open play, sensory play, and quiet activities—and plan the spatial relationships between these zones.
Accessibility and Inclusivity
If the playground is to serve children with disabilities or varying physical abilities, incorporate accessible routes, wide ramps, ground-level play, sensory features, and inclusive equipment from the start, rather than simply adding a separate “special area” later.
Safety and Supervision
Consider safety clearances, fall zones, sightlines for supervisors, and primary circulation paths to minimize activity conflicts and blind spots.
Budget and Long-Term Use
Beyond equipment costs, factor in surfacing, installation, fencing, shading, maintenance, and potential future expansion.Challenge and Independent Choice
How to Plan a Preschool Playground Layout
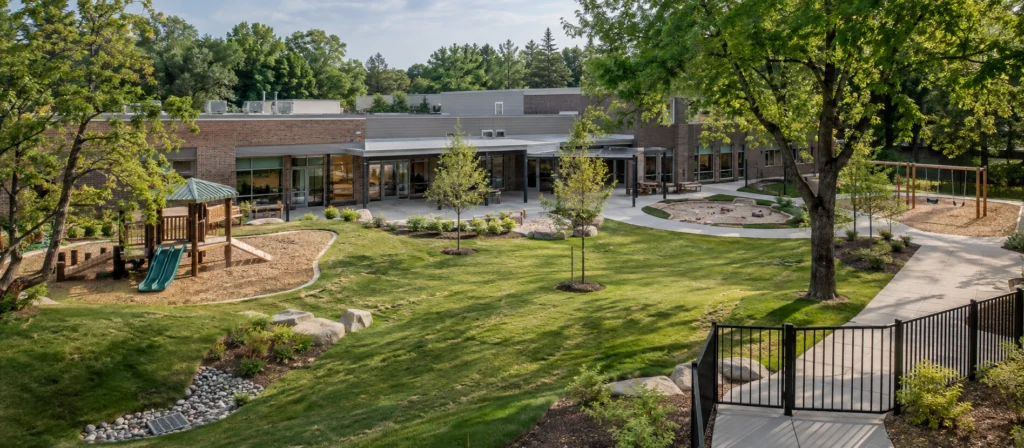
The playground layout should be planned before individual products are selected. We usually recommend starting with the site, then defining the activity zones, and finally planning circulation and surfacing. This makes equipment selection much easier later.
Site Conditions and Spatial Framework
If you already have a floor plan, do not rush to place slides and climbers.
First, mark the fixed conditions of the site:
- Buildings and classroom doors
- Playground entrances and exits
- Trees and existing structures
- Drainage points
- Changes in ground level
- Strong sun exposure and natural shade
- Existing surfacing
Focus on the truly usable space rather than only the total area.
Two playgrounds may both measure 400 square metres, but a regular, open site will require a very different layout from one with narrow areas, multiple entrances, large trees, or level changes.
You should also confirm:
- How many children will use the playground at the same time
- Which age groups will use it
- Whether several classes will share the space
- Whether outdoor use will be staggered
These factors will affect both the amount of equipment you can include and how much open space should remain.
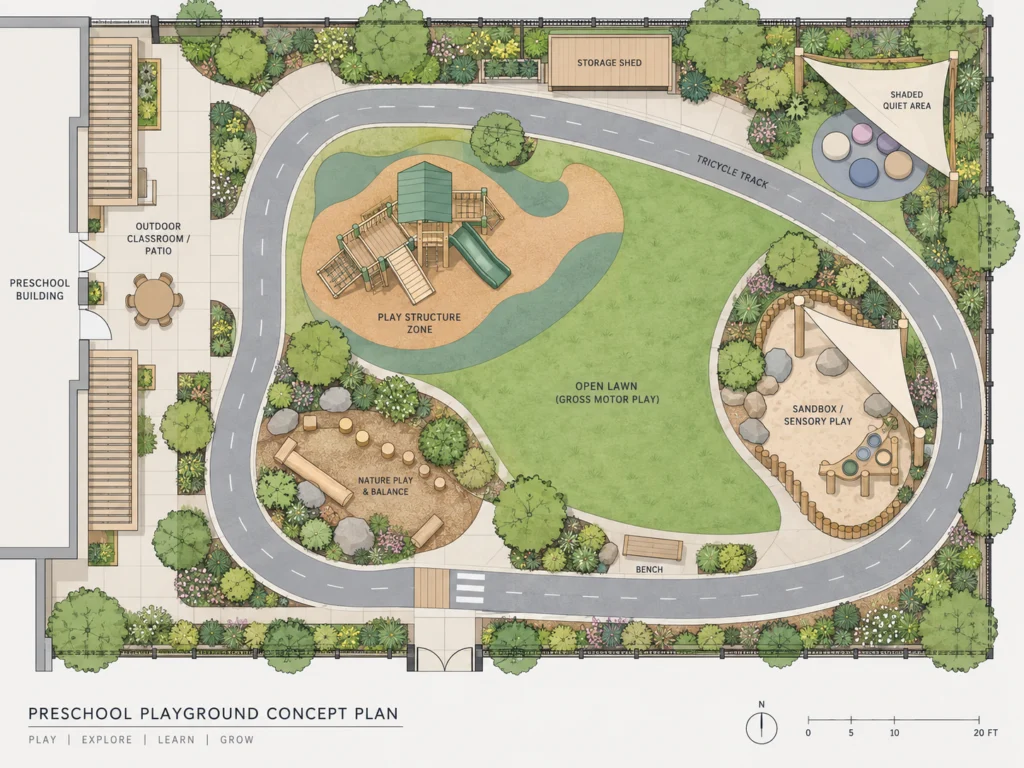
Activity Zoning and Space Allocation
Before placing equipment, decide what kinds of play children should be able to experience.
You may want to include:
| Type of Play | Main Space Requirements |
|---|---|
| Gross-motor play | Climbing, balancing, crossing, sliding, and jumping |
| Riding activities | A continuous, clear route with enough turning space |
| Open play | Running, ball games, group activities, and temporary play |
| Sensory and imaginative play | Sand, water, natural materials, construction, and pretend play |
| Quiet and small-group play | Smaller, slower-paced spaces that remain easy to supervise |
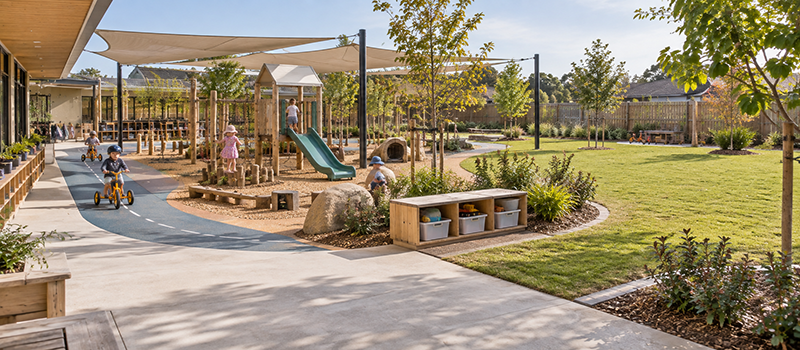
Some zones can connect naturally. Gross-motor areas can lead into open play spaces, while sand and water activities often work well next to each other. However, riding routes should not pass directly through quiet areas, and they should also stay clear of slide exits and swing zones.
Circulation and Open Space
Once the zones are in place, try to walk through the playground from a child’s point of view.
Where will children go first after leaving the classroom? What must they cross to reach the slide? Where does the riding route begin? Will children leaving the climbing area immediately enter another fast-moving activity?
These questions often reveal problems that are difficult to see on a plan. At the same time, do not treat every open area as space that still needs equipment.
Open spaces can support:
- Running
- Ball games
- Group activities
- Loose parts
- Temporary construction
- Teacher-led activities
Leaving some areas open is therefore an intentional design choice.
Choosing the Right Surface for Different Activities
Surfacing should not be left until after all the equipment has been selected.
Different activities require different ground conditions:
| Activity Area | Common Surface Options | Main Considerations |
|---|---|---|
| Climbing and slide areas | EPDM, rubber surfacing, or other suitable impact-attenuating surfaces | Fall protection |
| Riding routes | Concrete, asphalt, or smooth resilient surfaces | Continuity, stability, and turning |
| Open activity areas | Natural grass, artificial turf, or resilient surfacing | Running, drainage, and maintenance |
| Sand and water areas | Sand with suitable surrounding surfacing | Drainage, cleaning, and material control |
| Quiet activity areas | Artificial turf, timber decking, or stable resilient surfaces | Comfort and stability |
| Accessible routes | Firm, stable, continuous surfaces | Wheelchair and mobility-device access |
The final material should still be selected according to equipment fall height, local requirements, climate, and maintenance needs.Also pay attention to transitions between surfaces. Noticeable height differences between rubber, artificial turf, hard paths, and sand can affect everyday movement.
How to Choose Equipment for a Preschool Playground
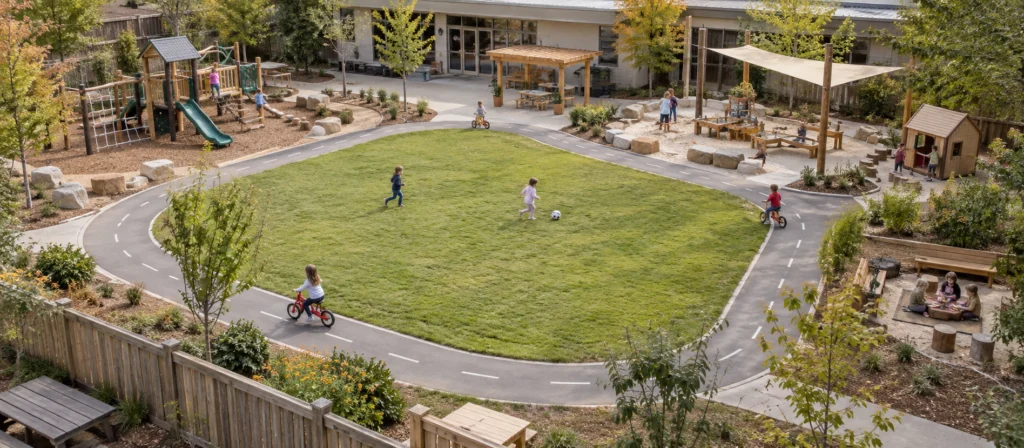
Once the layout is clear, equipment selection becomes much easier.At this stage, the question is no longer, “Which product looks best?” but rather: What type of play experience is still missing from this playground?
Core, Supporting, and Accessible Equipment
For gross-motor play, you may consider:
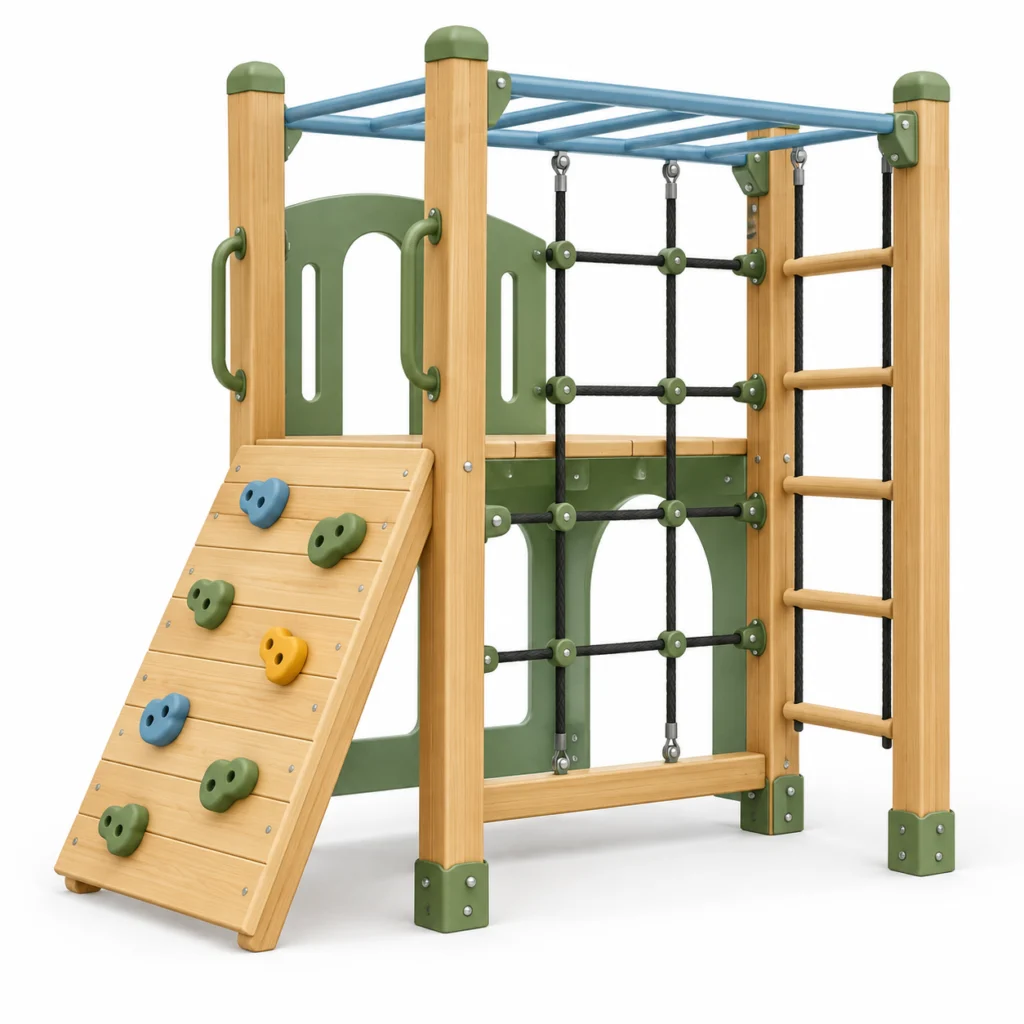
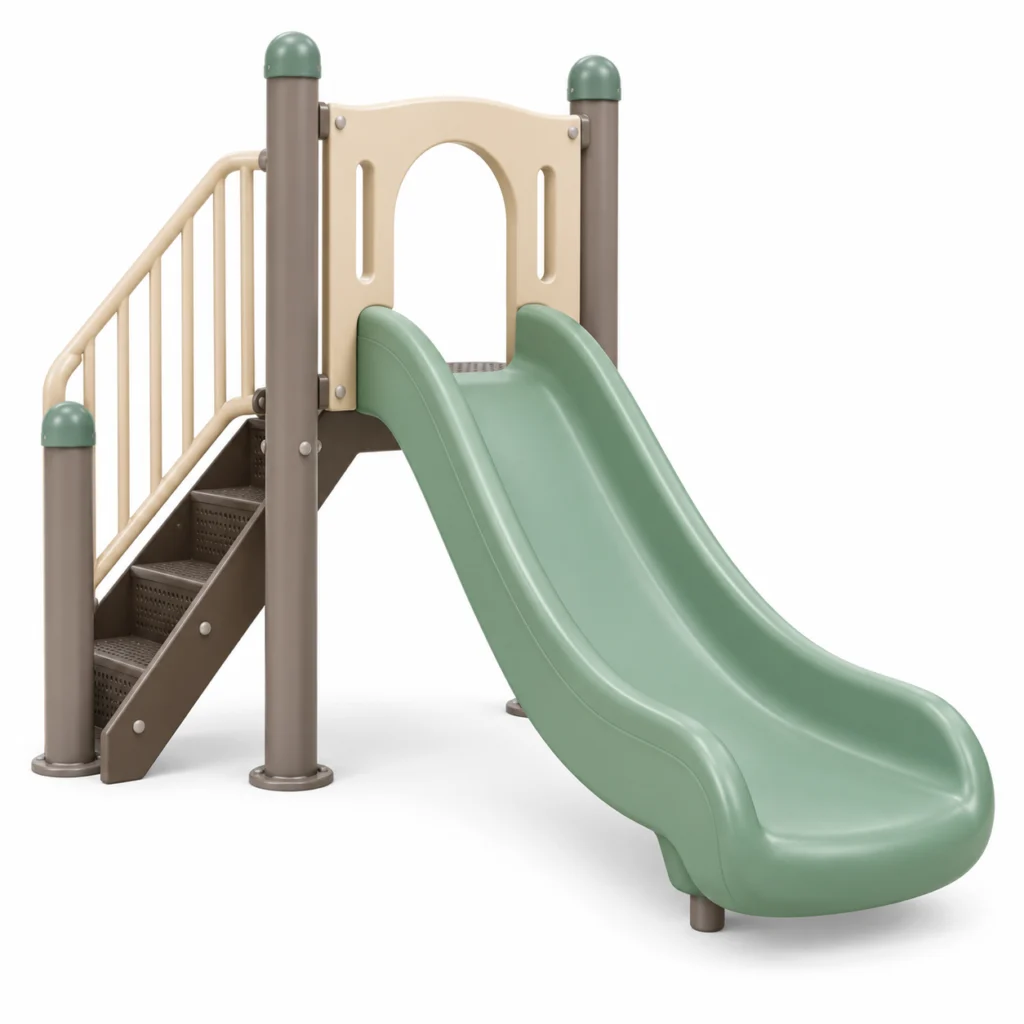
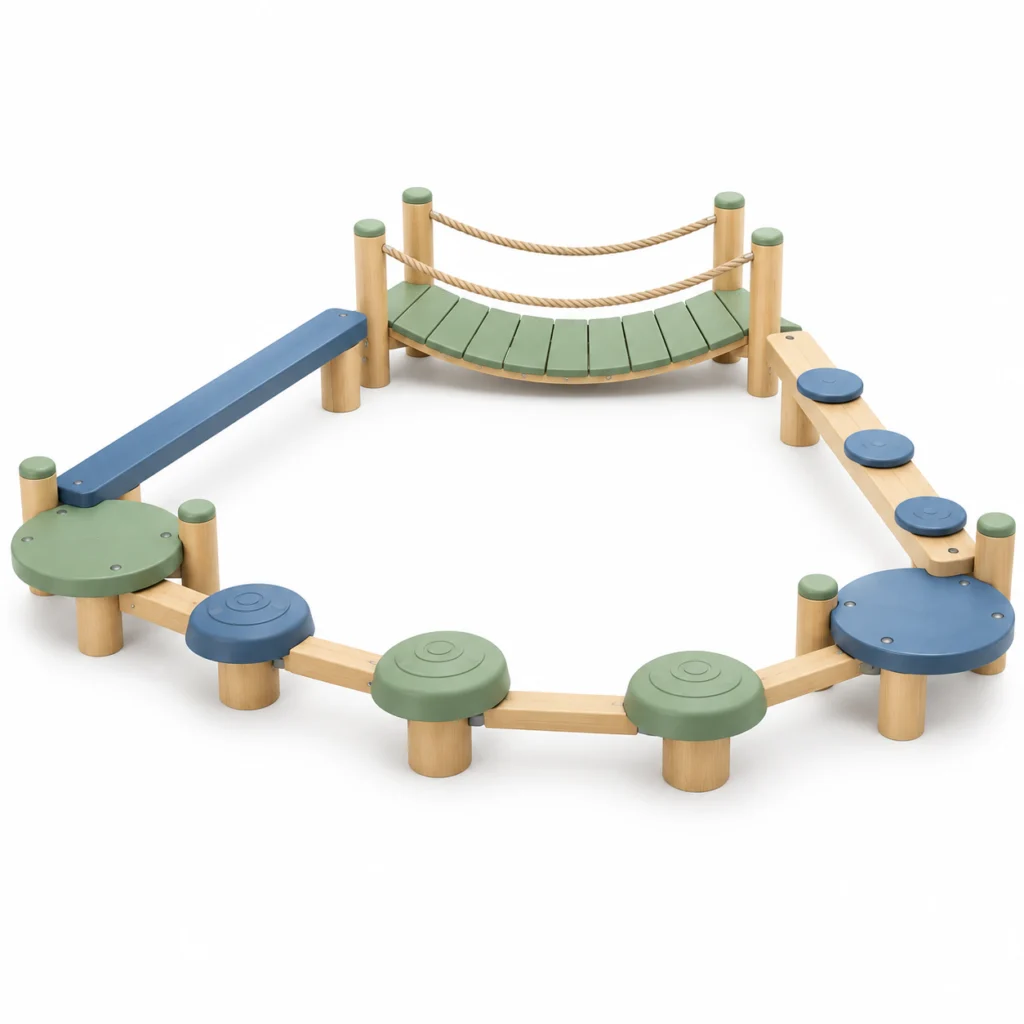
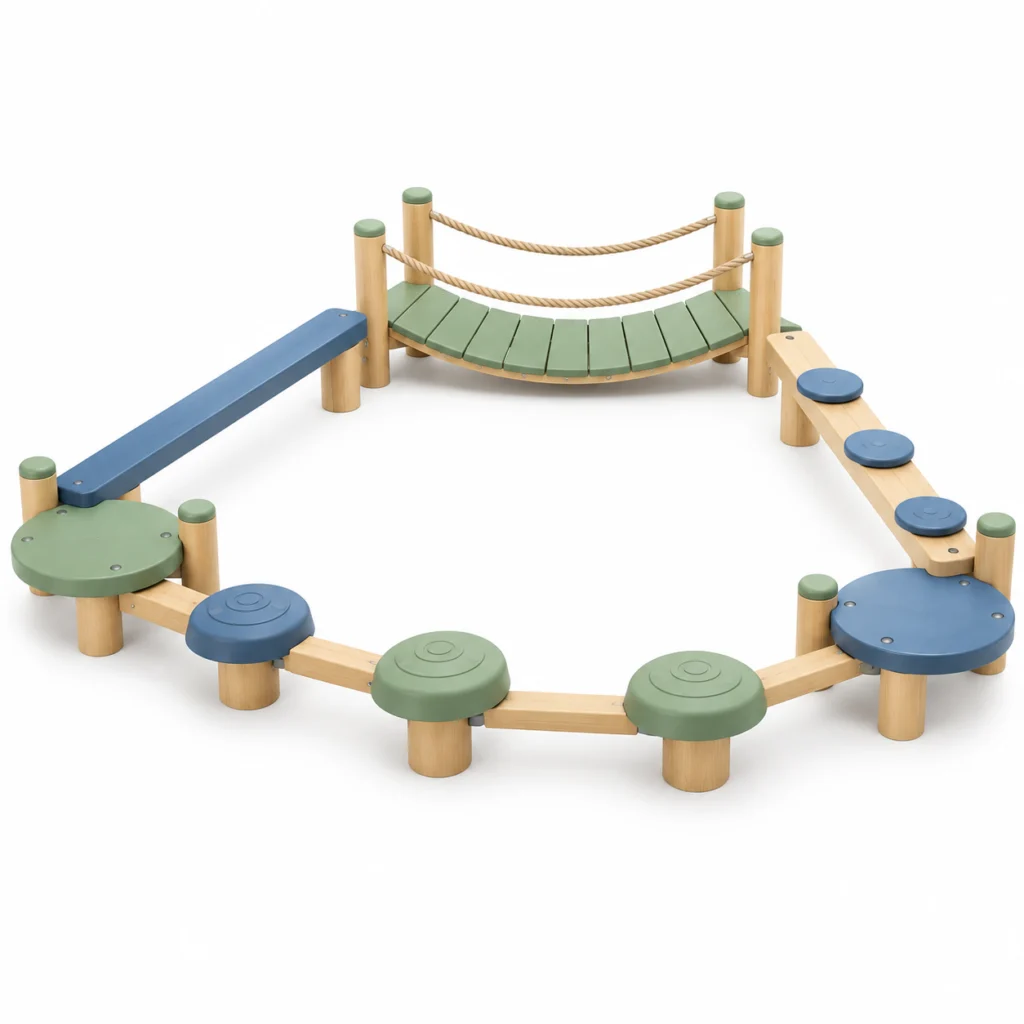
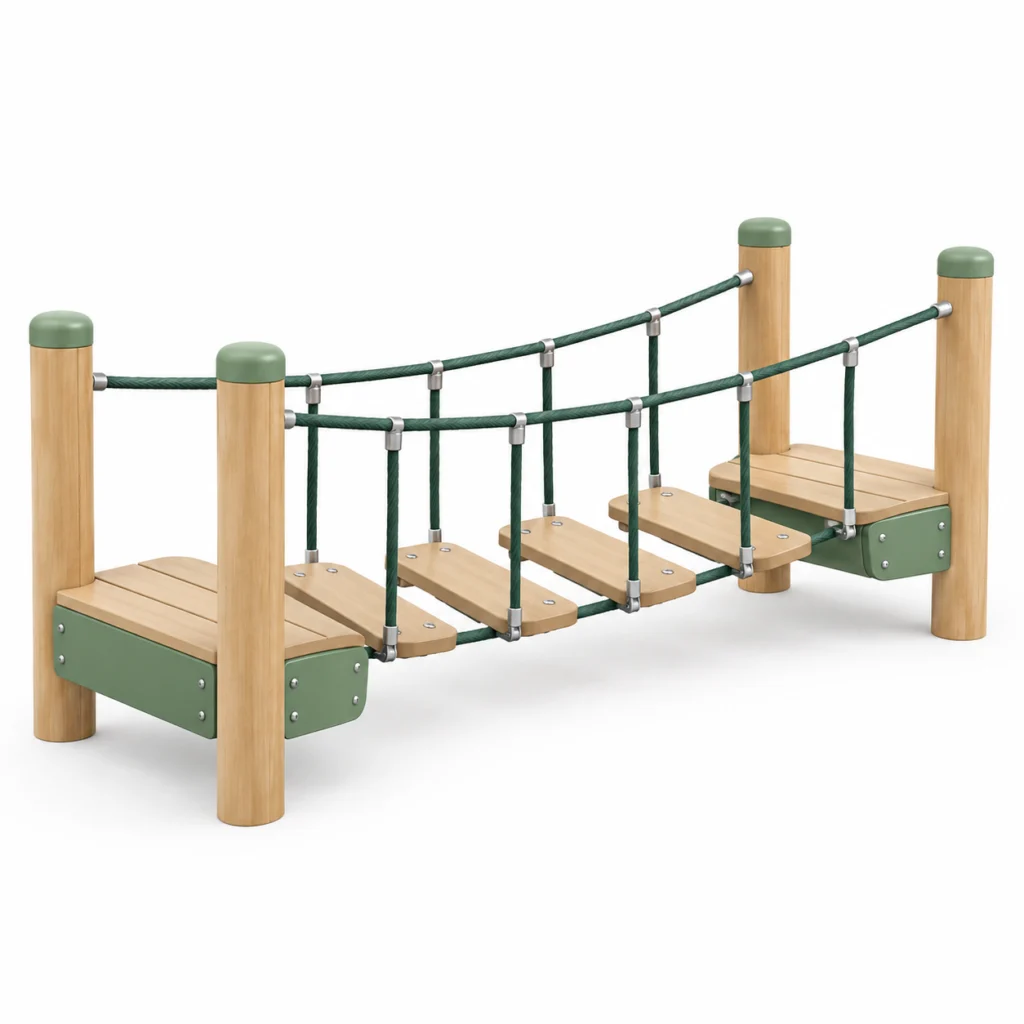
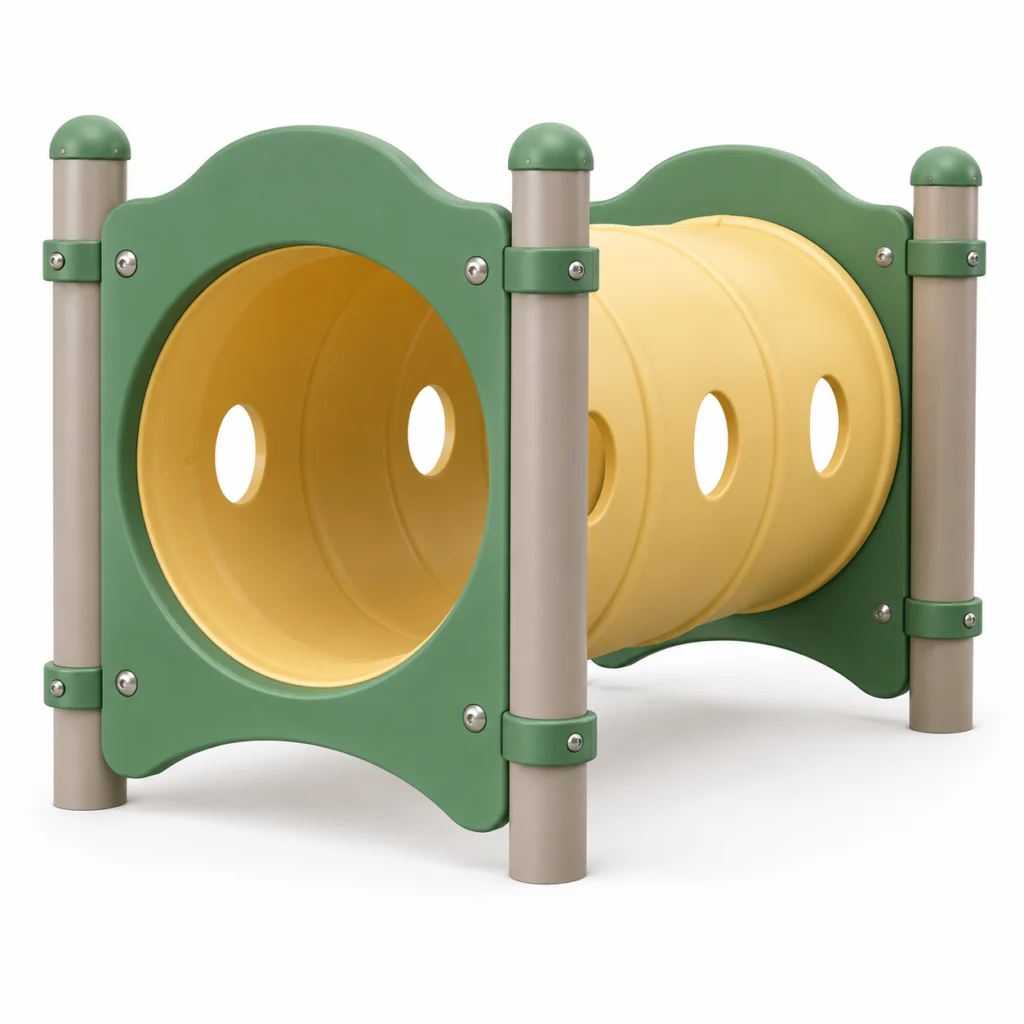
- Climbing frames
- Slides
- Balance equipment
- Bridges
- Tunnels
- Swings
- Low platforms
If space is limited, prioritize equipment that supports several types of movement.
For example, a multi-path outdoor climber allows children to enter from different directions rather than forcing everyone to follow one route.
You can also add smaller play elements to broaden the range of experiences. Sensory play tools can support scooping, sorting, pouring, and transferring, while an outdoor construction play station can encourage cooperation, building, and imaginative play.
Inclusive and Accessible Play
Not every child can participate through climbing, speed, or height.
If your playground needs to support children with different physical, sensory, or developmental abilities, you may consider:
- Wide ramps
- Ground-level activity panels
- Accessible play tables
- Transfer platforms
- Inclusive swings
- Tactile and sensory play
- Musical play elements
- Firm, continuous accessible routes
The goal is not to isolate children with disabilities in a separate area, but to allow children with different abilities to participate within the same playground environment whenever possible.
Equipment Quantity and Combination
More equipment does not always mean a better playground.
Before adding another product, ask:
- Does it introduce a new type of play?
- Does it complement the surrounding equipment?
- Can children continue using it as their abilities develop?
If you already have several climbing structures with similar functions, adding another one may provide less value than adding sensory play, construction activities, or more open space.
A main play structure combined with several smaller, different play points will often create a richer playground than filling the entire site with similar large equipment.
Preschool Playground Safety Design
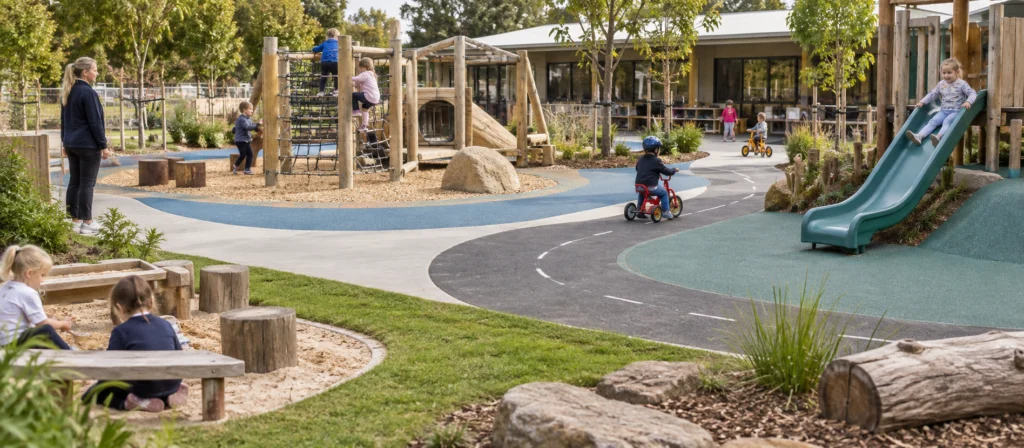
Safety is best considered during the layout stage, rather than checked only after the equipment has been selected.
Activity Conflicts and Safety Clearances
Riding, running, swings, and slide exits involve faster movement, while sand play, construction, pretend play, and small-group activities are slower-paced.Try to reduce frequent intersections between these types of activities.
You should also remember that equipment usually needs more space during actual use than its physical dimensions suggest. Consider:
- Entry and exit points
- Waiting areas
- Possible fall directions
- Equipment movement ranges
- Nearby circulation routes
For climbers, slides, and swings in particular, confirm the full use zone and required clearances early in the design process.
Teacher Sightlines and Fall Protection
Finally, review the site from the positions where teachers are most likely to stand.
Pay particular attention to:
- Areas behind large equipment
- Around playhouses
- Building corners
- Areas blocked by landscaping
- The far ends of riding routes
Check whether any obvious blind spots exist. Good supervision does not require an empty playground, but it does require unnecessary visual obstructions to be minimized.
For elevated and climbing equipment, also confirm the required fall zones and impact-attenuating surfacing according to the standards and requirements that apply to your project.
Budget Planning and Long-Term Use
Before placing an order, review the project as a whole.
Total Cost and Design Priorities
Equipment is only one part of the total project cost.
You may also need to budget for:
- Site preparation
- Foundation work
- Safety surfacing
- Drainage
- Fencing
- Shade
- Transportation
- Installation
- Inspection or approval
Two projects with similar equipment prices can therefore have very different total costs.
If your budget is limited, prioritize the elements that have the greatest impact on daily use:
- Safety surfacing
- Clear circulation
- Age-appropriate core equipment
- Basic gross-motor play
- Teacher supervision
- Fencing and access
Use the remaining budget to add new types of play rather than repeating functions you already have.
Maintenance and Future Expansion
It is also worth imagining how the playground will perform after two or three years of use.
Consider:
- Whether hardware is easy to inspect
- Whether replacement parts are available
- Whether surfacing is easy to repair
- Whether water collects after rain
- Where toys and loose parts will be stored
Long-term costs include not only repairs, but also the time and effort required to manage the space every day.
If the first-stage budget is limited, you do not need to complete everything at once.
You can begin with the core activity area, riding route, open space, safety surfacing, fencing, and essential shade, while leaving room for future sensory play, construction areas, or additional equipment.
After the playground has been used for a while, you can make further decisions based on how children actually use the space. This is often more effective than filling the entire site from the beginning.
If you have any requirements, please contact us to help you develop a site plan and budget.
FAQs
1.How Should a Small Kindergarten Playground Be Designed?
For small sites, it is better to avoid equipment with redundant functions and instead prioritize facilities that support diverse ways of playing. You can also create more play opportunities by utilizing the site’s edges, low-level spaces, and movable materials, rather than trying to cram large-scale equipment into every corner.
2.What Information Should Be Prepared Before Applying for a Playground Design Proposal?
It is best to prepare the following in advance: a site plan, available dimensions, the age and number of children, existing facilities, entry and exit points, the budget range, and the types of activities desired. Having on-site photos, details on ground conditions, shading requirements, and information on any facilities to be retained will also help ensure more accurate preliminary planning.
3.When Is Custom Playground Equipment Necessary?
Customization should be considered when standard equipment cannot accommodate specific site dimensions, irregular boundaries, target age groups, or unique play requirements. Before proceeding with customization, it is advisable to clearly identify why standard products fail to meet the project’s needs; this helps avoid unnecessary costs and installation complexities incurred solely for the sake of visual differences.
4.How Can Preschool Playgrounds Be Made Suitable for Children With a Wider Range of Abilities?
Avoid making all activities reliant on climbing, speed, and height. Instead, incorporate gentler access points, ground-level play, sensory activities, interactive panels, and quiet spaces to ensure that children with diverse physical abilities, personalities, and play preferences have opportunities to participate.
5.Is It Possible to Upgrade the Playground Without Redesigning the Entire Space?
Yes. You can start by observing which areas see the most use, where congestion occurs, and which types of play are clearly lacking, then make targeted adjustments. Often, simply re-routing a riding path, adding open-ended play materials, or utilizing an underused corner can improve the overall experience.
Conclusion
A well-planned preschool playground starts with how children will use the space. By considering their ages, site conditions, safety, accessibility, activities, and budget together, even a limited area can work well. If you have site dimensions or a floor plan, we can help you review the layout, equipment, and customization needs before ordering.